

- Define an Application for a team, and delegate a slice of Kafka to it
- Set up ResourcePolicy guardrails that enforce governance on topics, schemas and permissions
- Let the team manage their own topics inside those boundaries
- Watch a policy reject a topic that breaks the rules, then grant an approved exception
From our blog: No Kafka data platform without ownership Why ownership is the first domino of a real Kafka data platform, ahead of self-service and scale.
Why Self-service
As Kafka adoption grows, central teams hit a tradeoff: they review every resource request properly and become the bottleneck, or they skim and let misconfigurations reach production. Access requests are even harder because the central team has to approve them without knowing whether the data is sensitive or who should see it. Approvals go through anyway, periodic reviews slip, and “who can read this topic?” turns into a multi-day search through ACLs, tickets and spreadsheets when an auditor or an incident asks. Teams that want isolation ask for their own cluster, so cluster count grows faster than the workload does. With Conduktor Self-service, responsibility is federated. The platform team declares each application’s owner, what resources it owns, and what rules its resources have to follow. Application teams create, change, share, or delete their own resources inside those boundaries. Conduktor Self-service validates every change at apply time against the rules, with custom error messages to tell them what to fix. Ops protects the infrastructure while the developers with business context make decisions about their data. Moreover, having a proper ownership database turns out to be handy elsewhere in Console:- Stream lineage resolves raw service account principals into named applications, so a graph of
sa-7f3aandsvc-prod-2becomes a graph of teams, with a view that hides everything Self-service doesn’t manage. - Chargeback rolls infrastructure cost up by application and by application instance, because it can trace usage back through the service account to the application that produced it.
- Alerts belong to an application instance, so the team that owns a topic sees and manages the alerts on it.
- The Topic Catalog shows each topic’s owner, schema, and documentation, allowing teams to maintain proper data products other teams can discover and use.
The example repo
Clone the repo that accompanies this guide:platform/ is managed exclusively by the platform team. Everything under applications/<app>/<instance>/ belongs to the application team that owns it.
This delegation is the whole point. Because the platform team created the Application and its instances in advance, the website-analytics team can create, modify and approve changes to their own resources without asking anyone.
In a real setup these two directories are protected by CODEOWNERS so the right people review the right changes, and CI applies them on merge. The self-service-template repo has that wiring. This quick start keeps things manual so you can watch each step.
Key resources
Running the example
Set up the demo
Docker is required to run this demo. So is a Conduktor license — Self-service is a licensed feature, and without a license Console runs on the Free plan and rejects every Self-service API call. Book a demo to get one.
-
Start the local stack — Console, a three-broker Kafka cluster, Schema Registry, and Gateway:
This returns once Console is ready. You can log in at http://localhost:8080 as
admin@conduktor.io:adminP4ss!to watch resources appear as you create them. -
Mint an admin token.
conduktor token create adminexists for exactly this — it logs in withCDK_USERandCDK_PASSWORDto create your first token, so there’s nothing to copy out of the UI. Pass the credentials to this one command rather than storing them anywhere:-Tmatters here: without it Docker allocates a TTY and control characters end up inside the token.Every command below passes its token with-e CDK_API_KEY=.... Don’t setCDK_USERon the container alongsideCDK_API_KEY— whatever the auth mode, the CLI refuses to run when both are present and exits withCan't set both CDK_USER and CDK_API_KEY.
Apply the platform team’s resources
This is the platform team’s job: set up the cluster, the groups, the guardrails, and the application boundaries. Order matters — each step references the one before it.-
Register the Kafka clusters —
kafka-local, which the rest of this guide uses, and the Gateway that fronts it. Notice a cluster is itself a managed resource, not something configured by hand in the UI: -
Create the Console Groups.
website-analytics-ownerswill own the Application, so it has to exist first: -
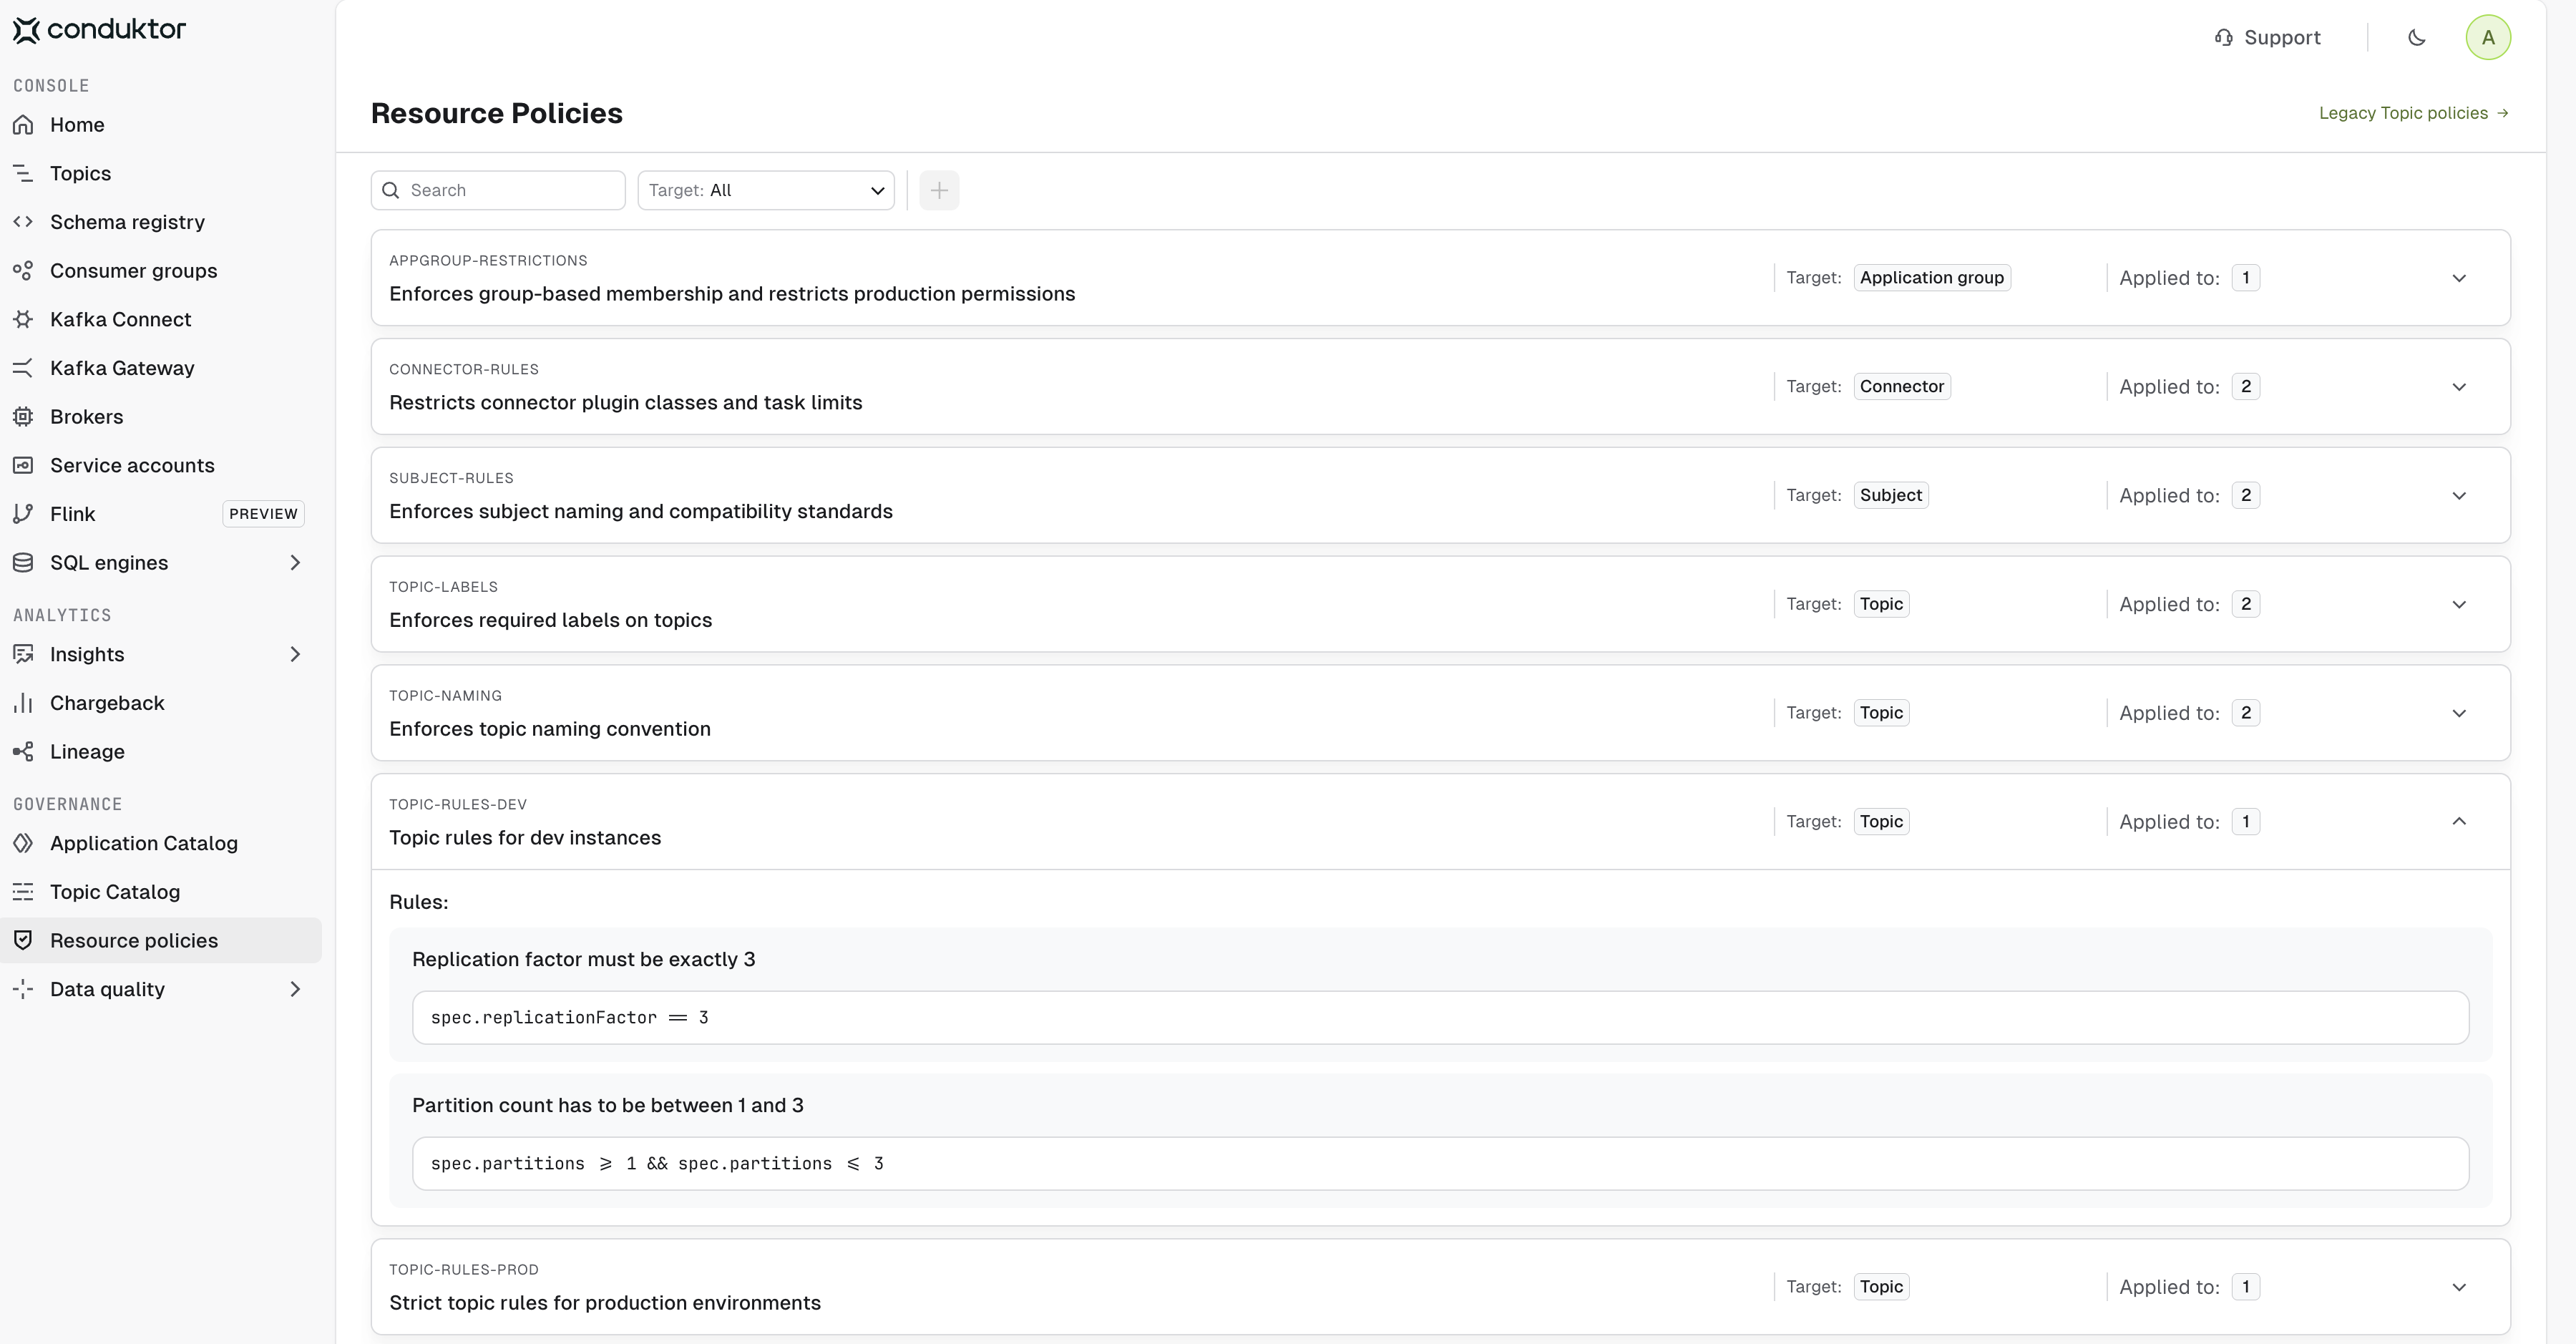
Create the policies:
Seven ResourcePolicies are applied:Find them under Resource Policies in Console. Expand a policy to see the rules it enforces:
-
Create the Application and its two instances:
platform/applications/website-analytics/prod.yml and look at what an ApplicationInstance actually declares:
resources is the boundary: this application instance can do what it likes to any topic, consumer group or subject matching website-analytics.prod., and nothing at all outside it. policyRef is the guardrail: every resource it applies is validated against those policies first.
The dev instance (dev.yml) has the same shape, with its own name, service account and website-analytics.dev. prefixes, and it references topic-rules-dev in place of topic-rules-prod. That single line is the difference between a permissive dev environment and a strict production one.
The seventh policy, appgroup-restrictions, is referenced from application.yml rather than from either instance:
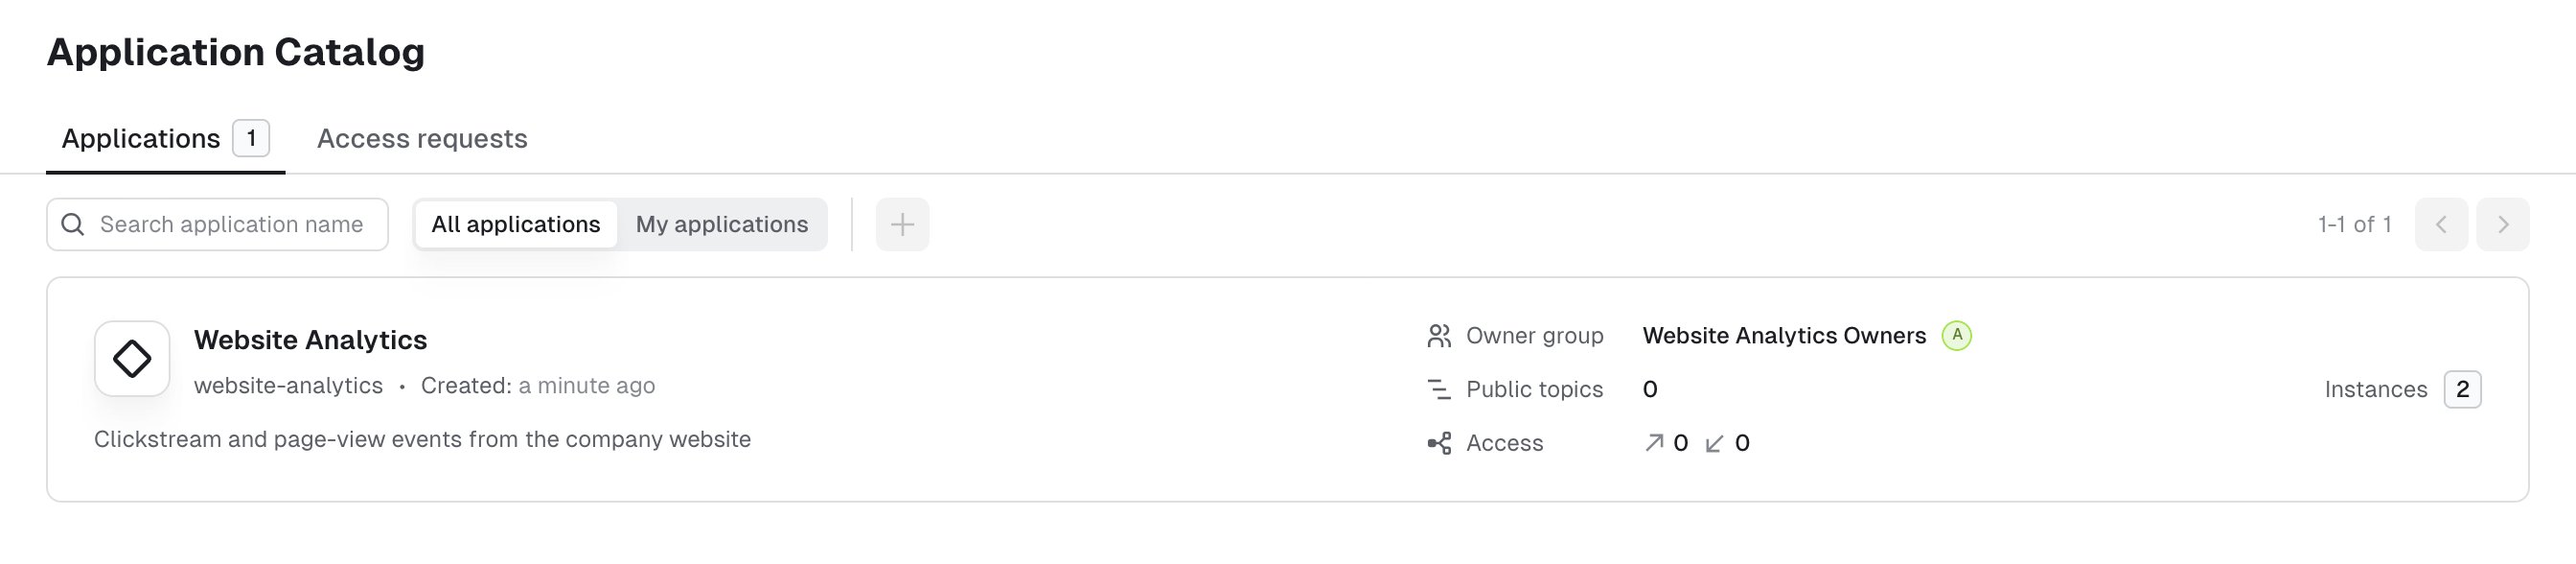
Apply the application team’s resources
-
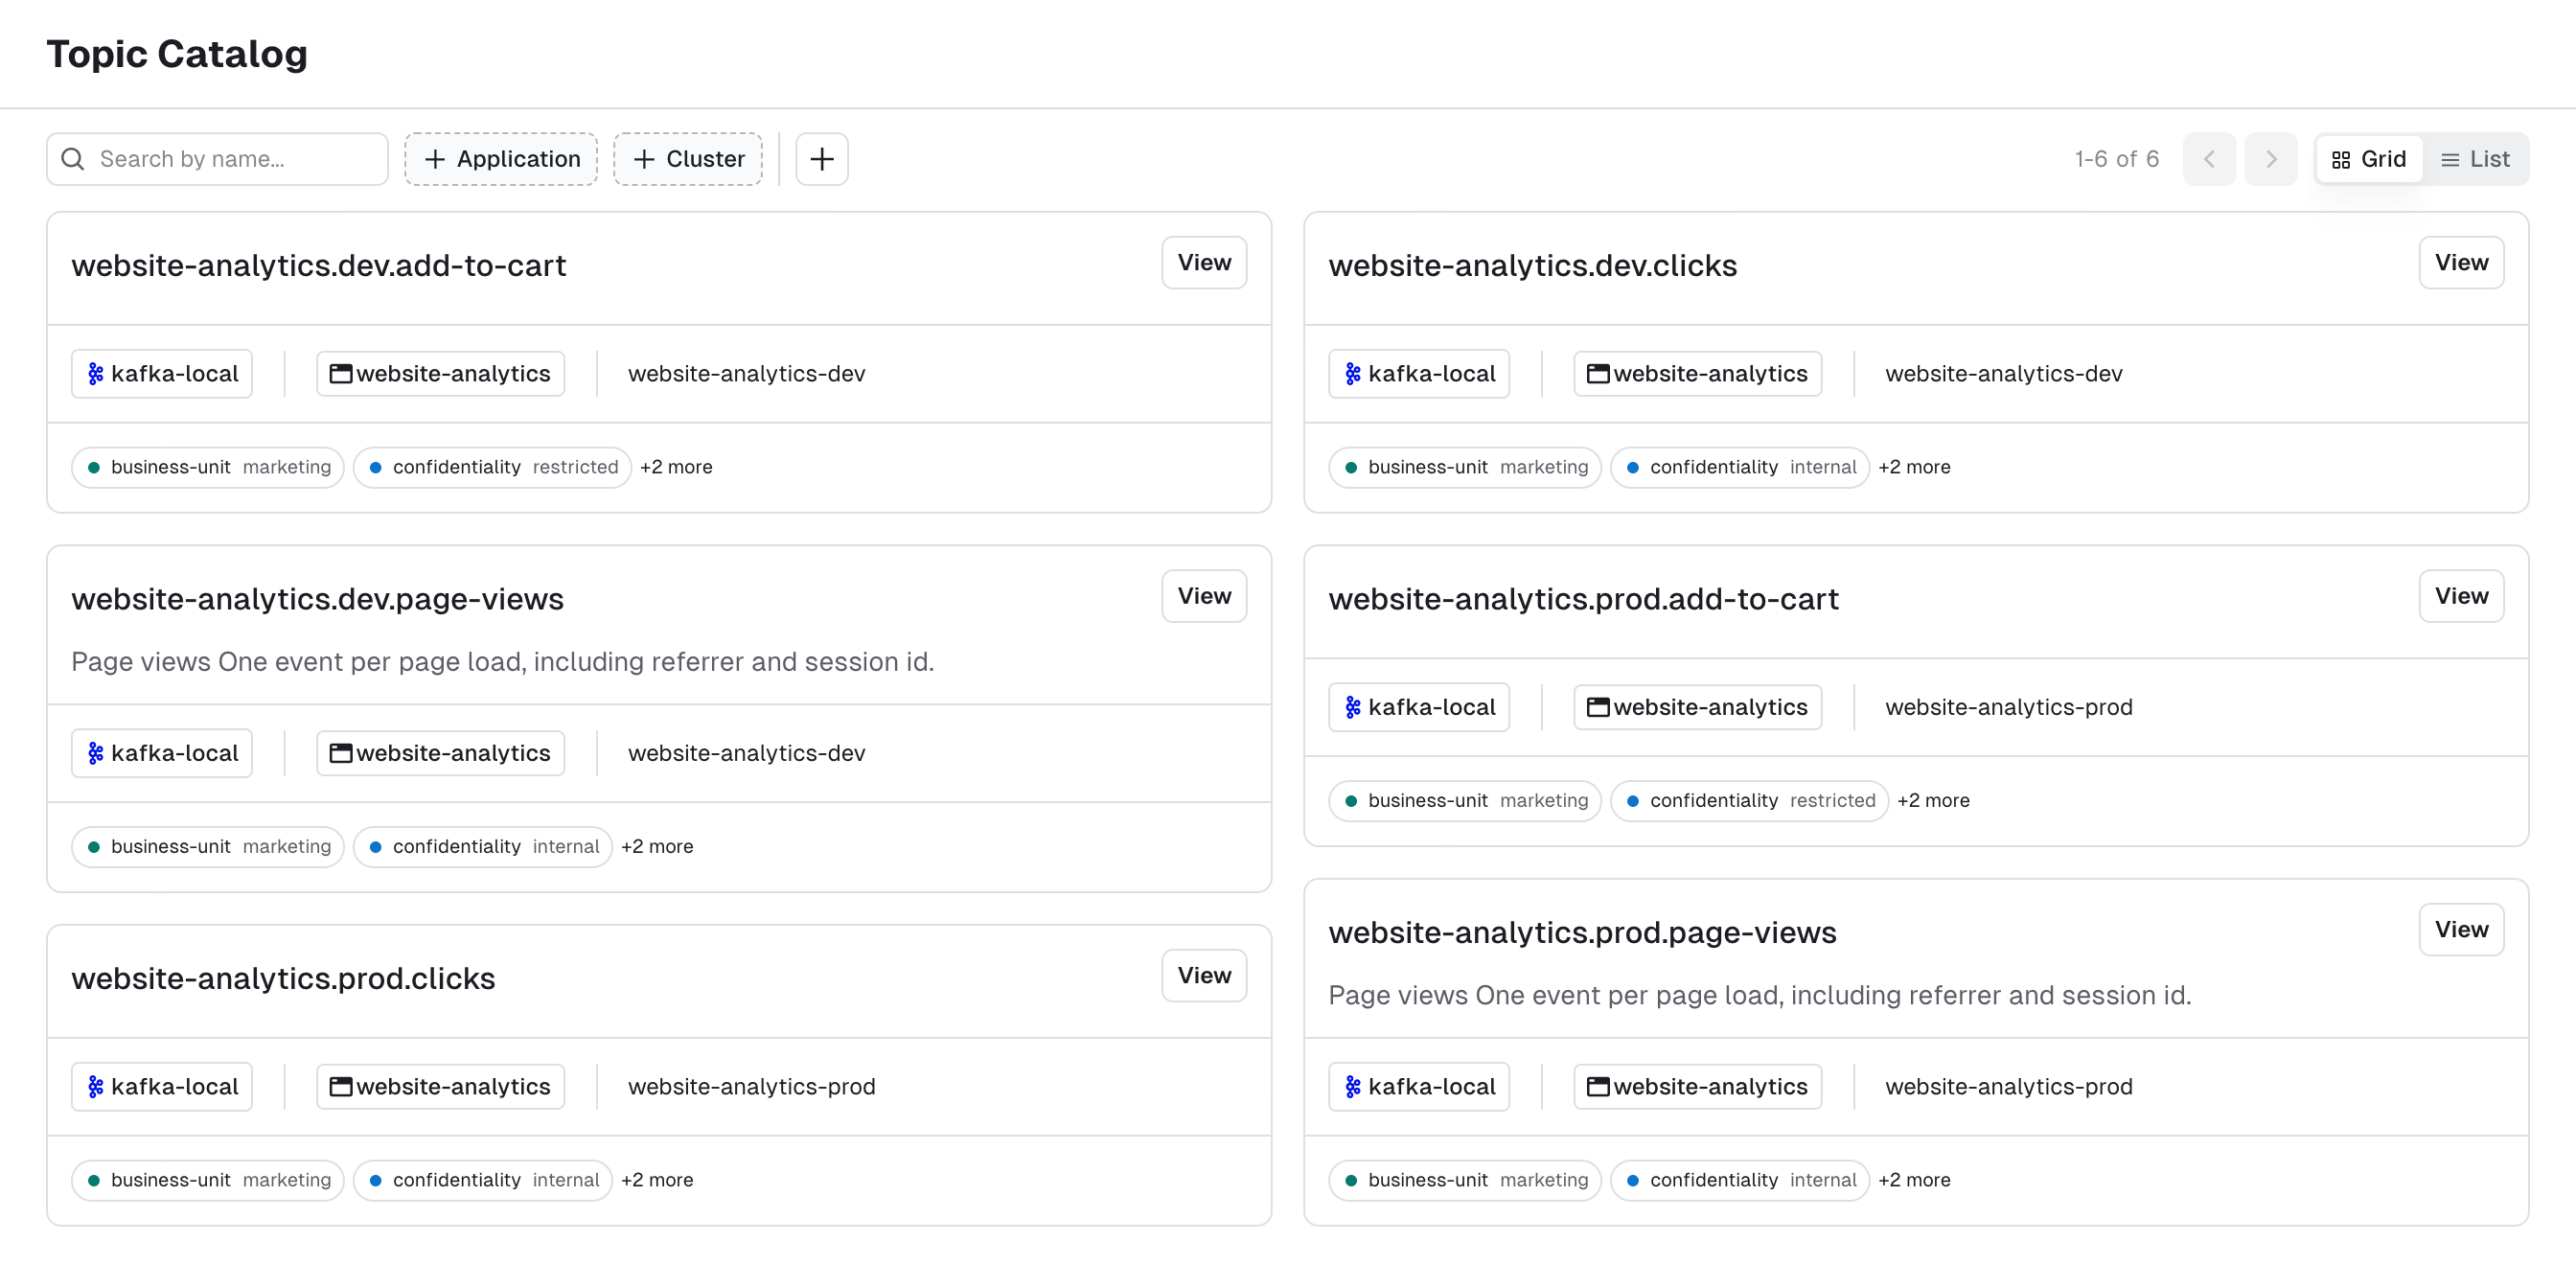
Create the team’s topics and schemas in both environments:
Attempt to create a topic out of bounds
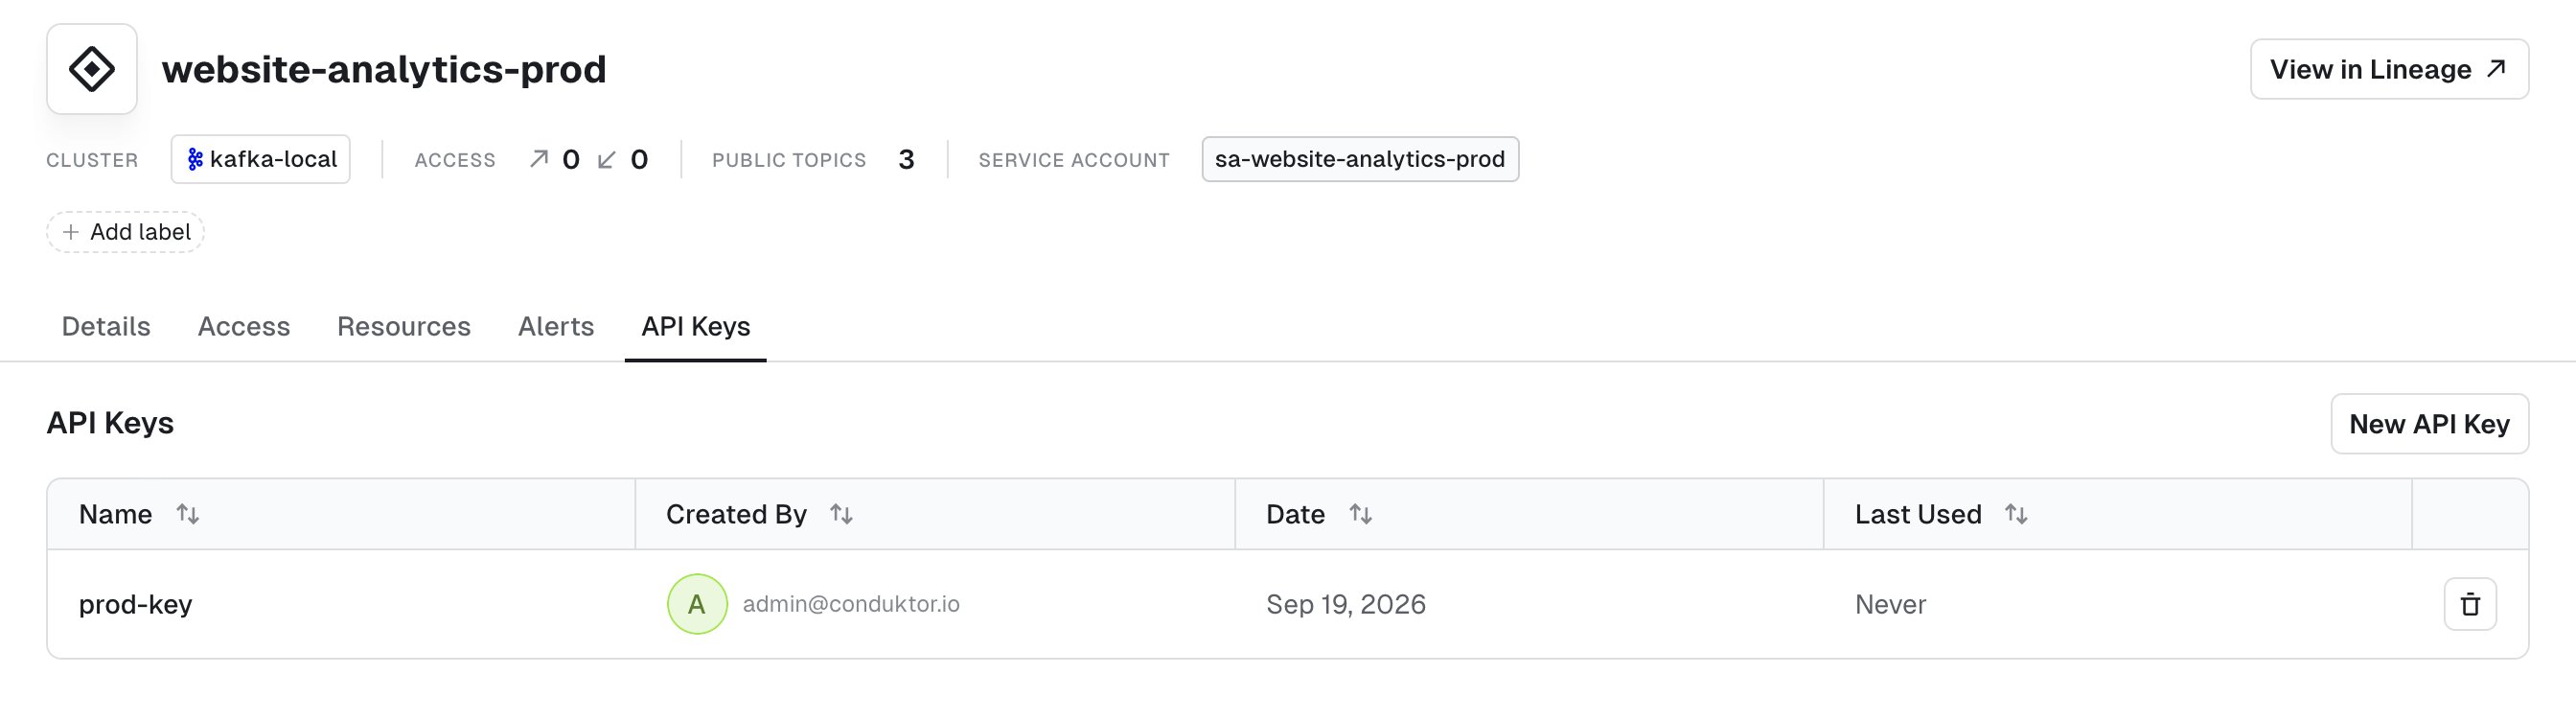
Everything so far used an Admin API key, which bypasses policy validation entirely — platform administrators are exempt by design. To see what the application team experiences, you need a key scoped to their application instance. Mint one with your admin token, and keep it in a separate variable so you can switch between the two roles:-e CDK_API_KEY=$APP_TOKEN acts as the website-analytics prod application; one passed -e CDK_API_KEY=$ADMIN_TOKEN still acts as an administrator.
You can also create the key from the UI, under Application Catalog > Website Analytics > the website-analytics-prod instance > API Keys > New API Key:
applications/website-analytics/prod/replay.yml:
topic-rules-prod (check out the file ) caps production topics at 12:
condition is a CEL expression evaluated against the resource’s metadata and spec. Try to apply it:
errorMessage the platform team wrote, so the developer knows both what broke and what to do next. Failures are grouped by policy; if a resource breaks several rules, you get all of them at once rather than one per round trip.
Try a few variations to get a feel for the guardrails:
- Rename the topic to
payments.replay—website-analytics-proddoesn’t own that prefix, so the boundary rejects it before any policy runs. - Drop the
confidentialitylabel —topic-labelsrejects it. - Move the same topic to the dev instance, keeping 24 partitions: rename it to
website-analytics.dev.replay, set theinstancelabel todev, and mint a token forwebsite-analytics-dev.topic-rules-devcaps dev at three. Keep theprodname or theprodtoken and you hit the ownership boundary instead, before any policy runs. - Re-apply
applications/website-analytics/<instance>/with an application instance token rather than the admin one. The earlier step used the admin token, so none of those resources were policy-checked; an application token runs them through the guardrails, includingappgroup-restrictionson the ApplicationGroups.
Grant a policy exception
The team genuinely does need 24 partitions, and the platform team agrees. Policies are strict rather than absolute — the escape hatch is a deliberate, auditable exception. The resource doesn’t change — its ownership does. It moves out of the team’s folder and intoplatform/exceptions/, where only the platform team can write. That file is already in the repo as platform/exceptions/website-analytics/prod/high-partition-topic.yml, with a label recording the ticket that authorized it:
Conclusion
You’ve seen the whole loop: the platform team declares boundaries and guardrails, application teams move fast inside them, violations are caught at apply time with an actionable message, and genuine exceptions are granted deliberately rather than by weakening the rule for everyone. This demo doesn’t cover everything. Explore how to grant permissions to other teams on your owned resources, or how to set up teams within your application — both have commented examples in the repo underapplications/website-analytics/<instance>/.
To close everything down, run ./stop.sh.
To discuss your requirements or find out more about Self-service, book a demo .
Related resources
- Find out more about Self-service
- Use Self-service
- View Self-service resource reference
- Self-service reference template on GitHub — production-ready GitHub layout with CI/CD workflows
- Give us feedback/request a feature