Set up a Gradle project with Kafka dependencies in 10 minutes Before writing Kafka producers and consumers, you need a Java project with the Kafka client library and logging dependencies configured. What you’ll learn:Documentation Index
Fetch the complete documentation index at: https://docs.conduktor.io/llms.txt
Use this file to discover all available pages before exploring further.
- How to create a new Gradle project in IntelliJ
- How to add Kafka client dependencies
- How to configure logging with SLF4J
- How to verify your setup works
Create a Kafka Gradle project with build.gradle and set up dependencies
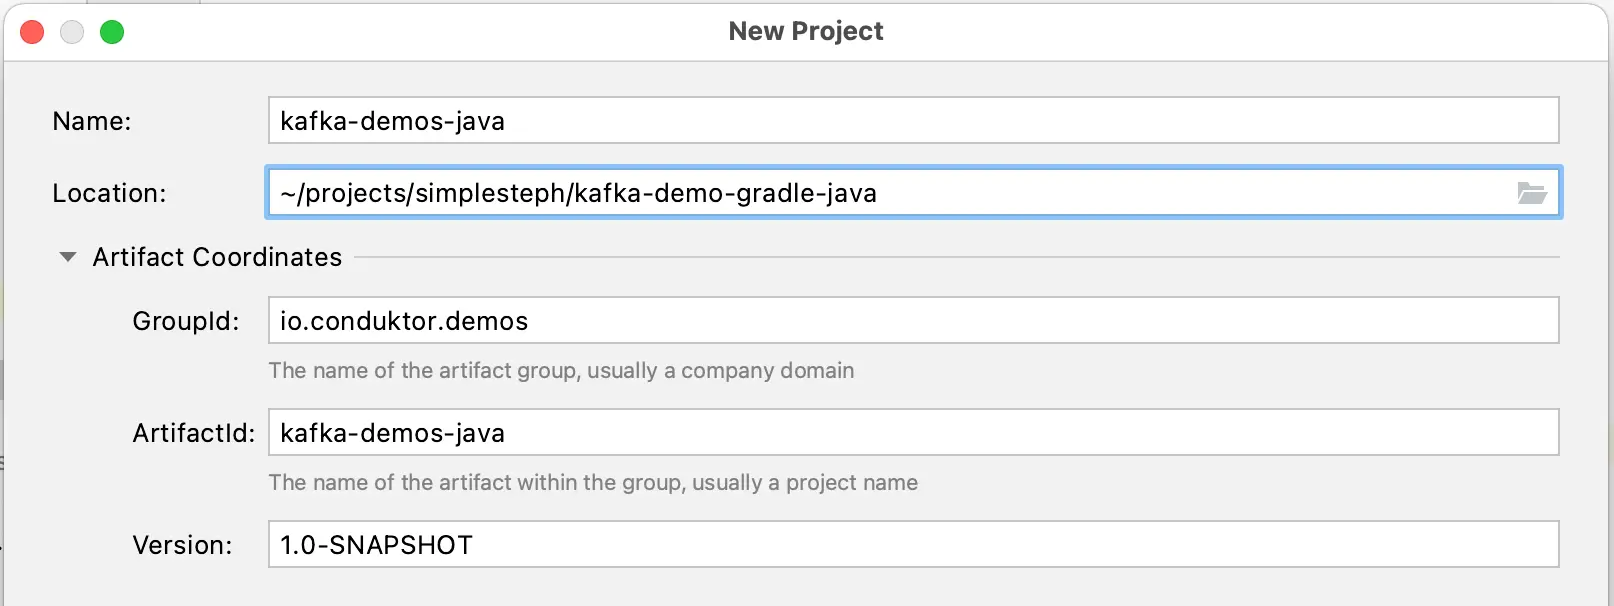
In IntelliJ IDEA, create a new Java Gradle project (File > New > Project)
**build.gradle** file. The build.gradle is a default Gradle file that carries all the information regarding the Group and Version values . The user needs to define all the necessary project dependencies in the build.gradle file. Go to the build.gradle file.
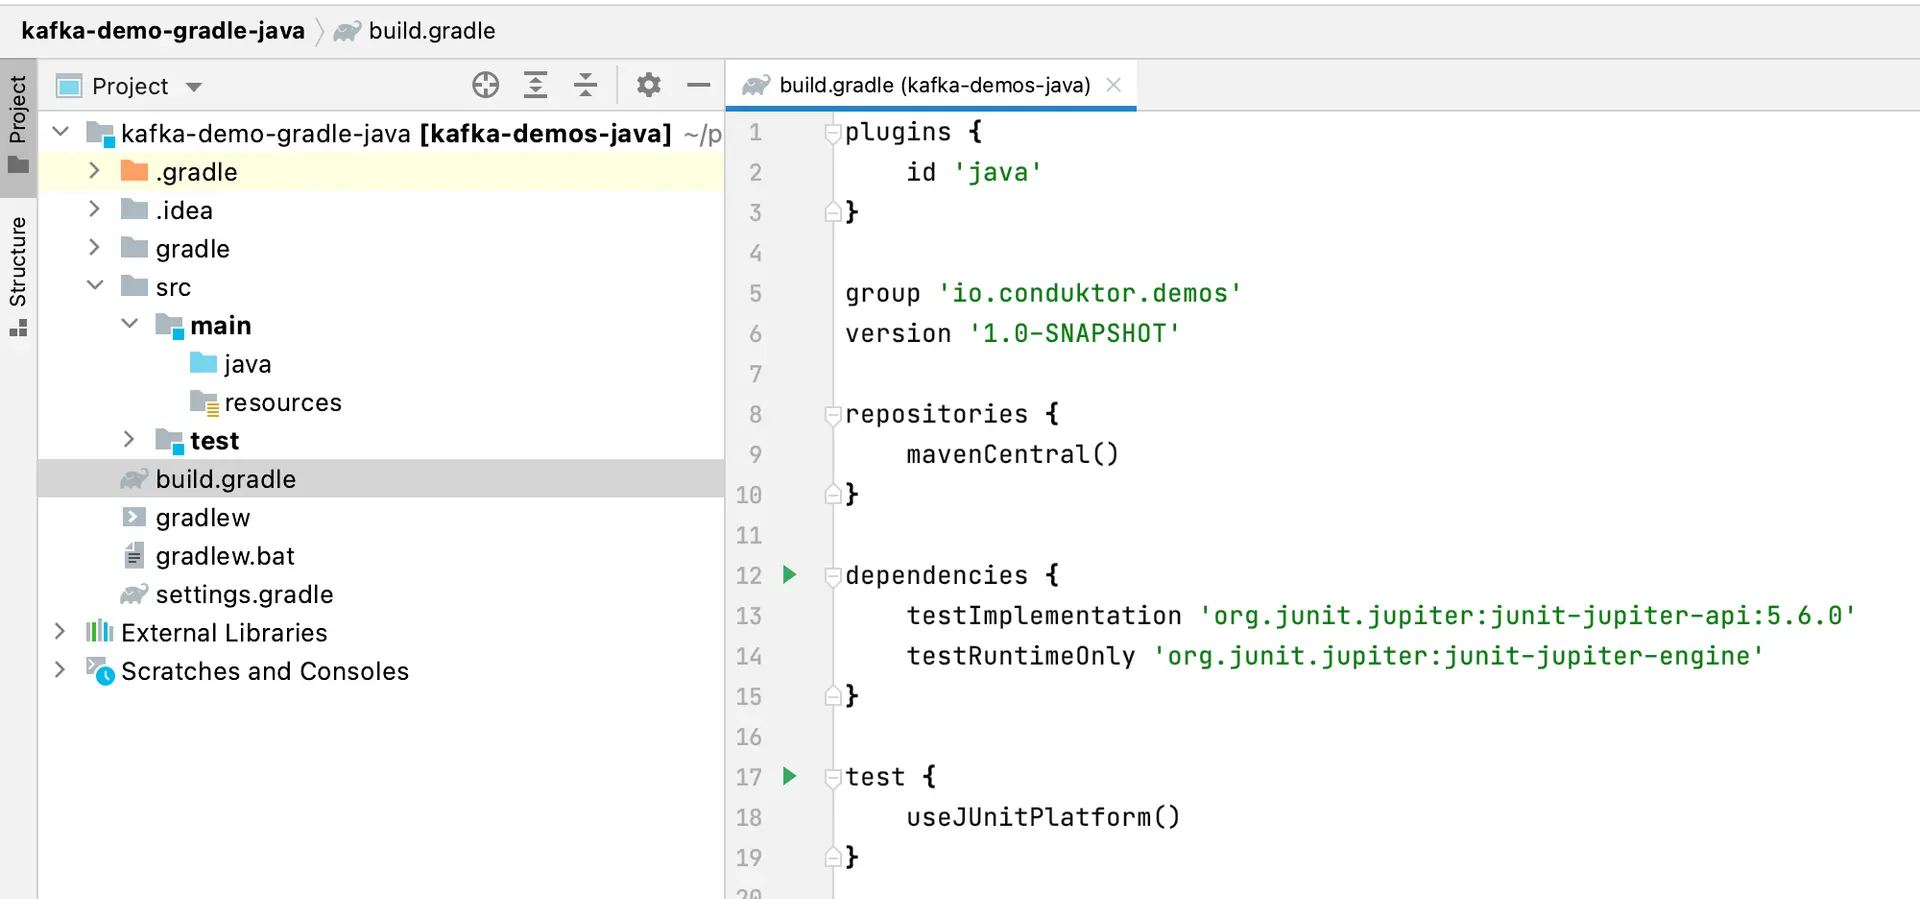
dependencies { ... } block.
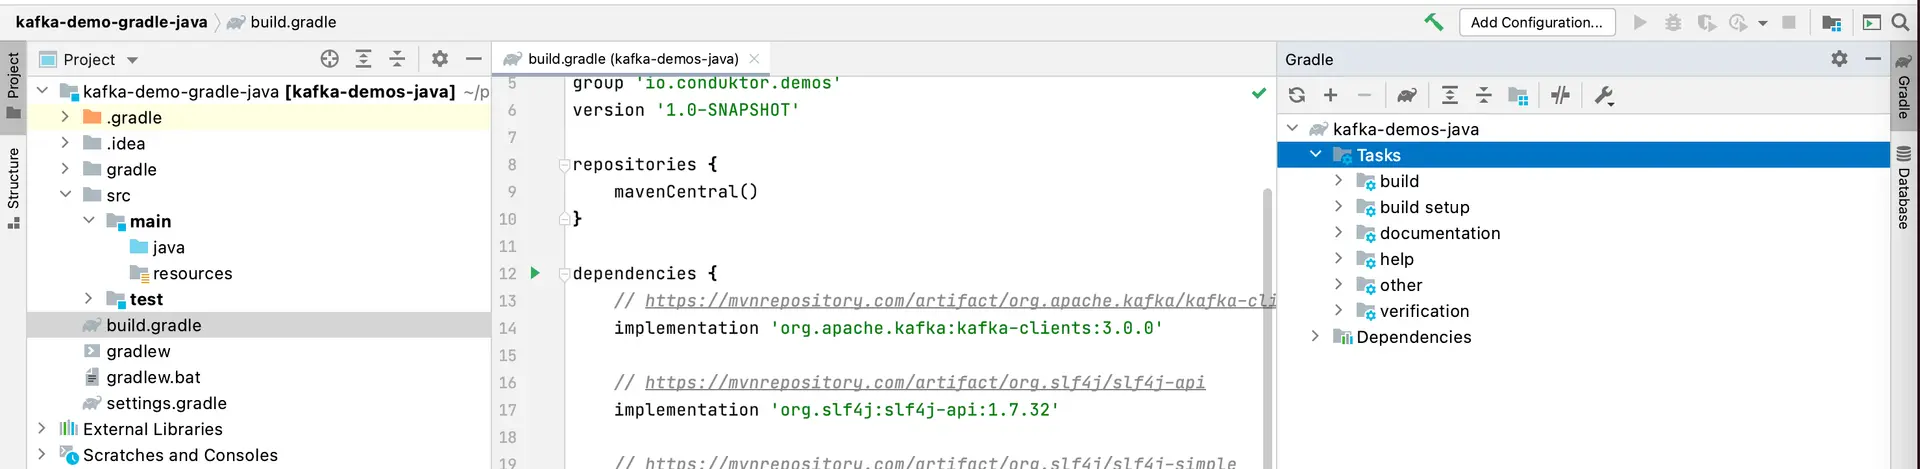
Add a dependency for Kafka client and logging dependencies as shown below
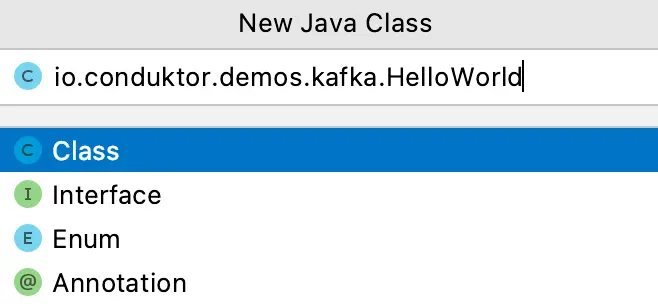
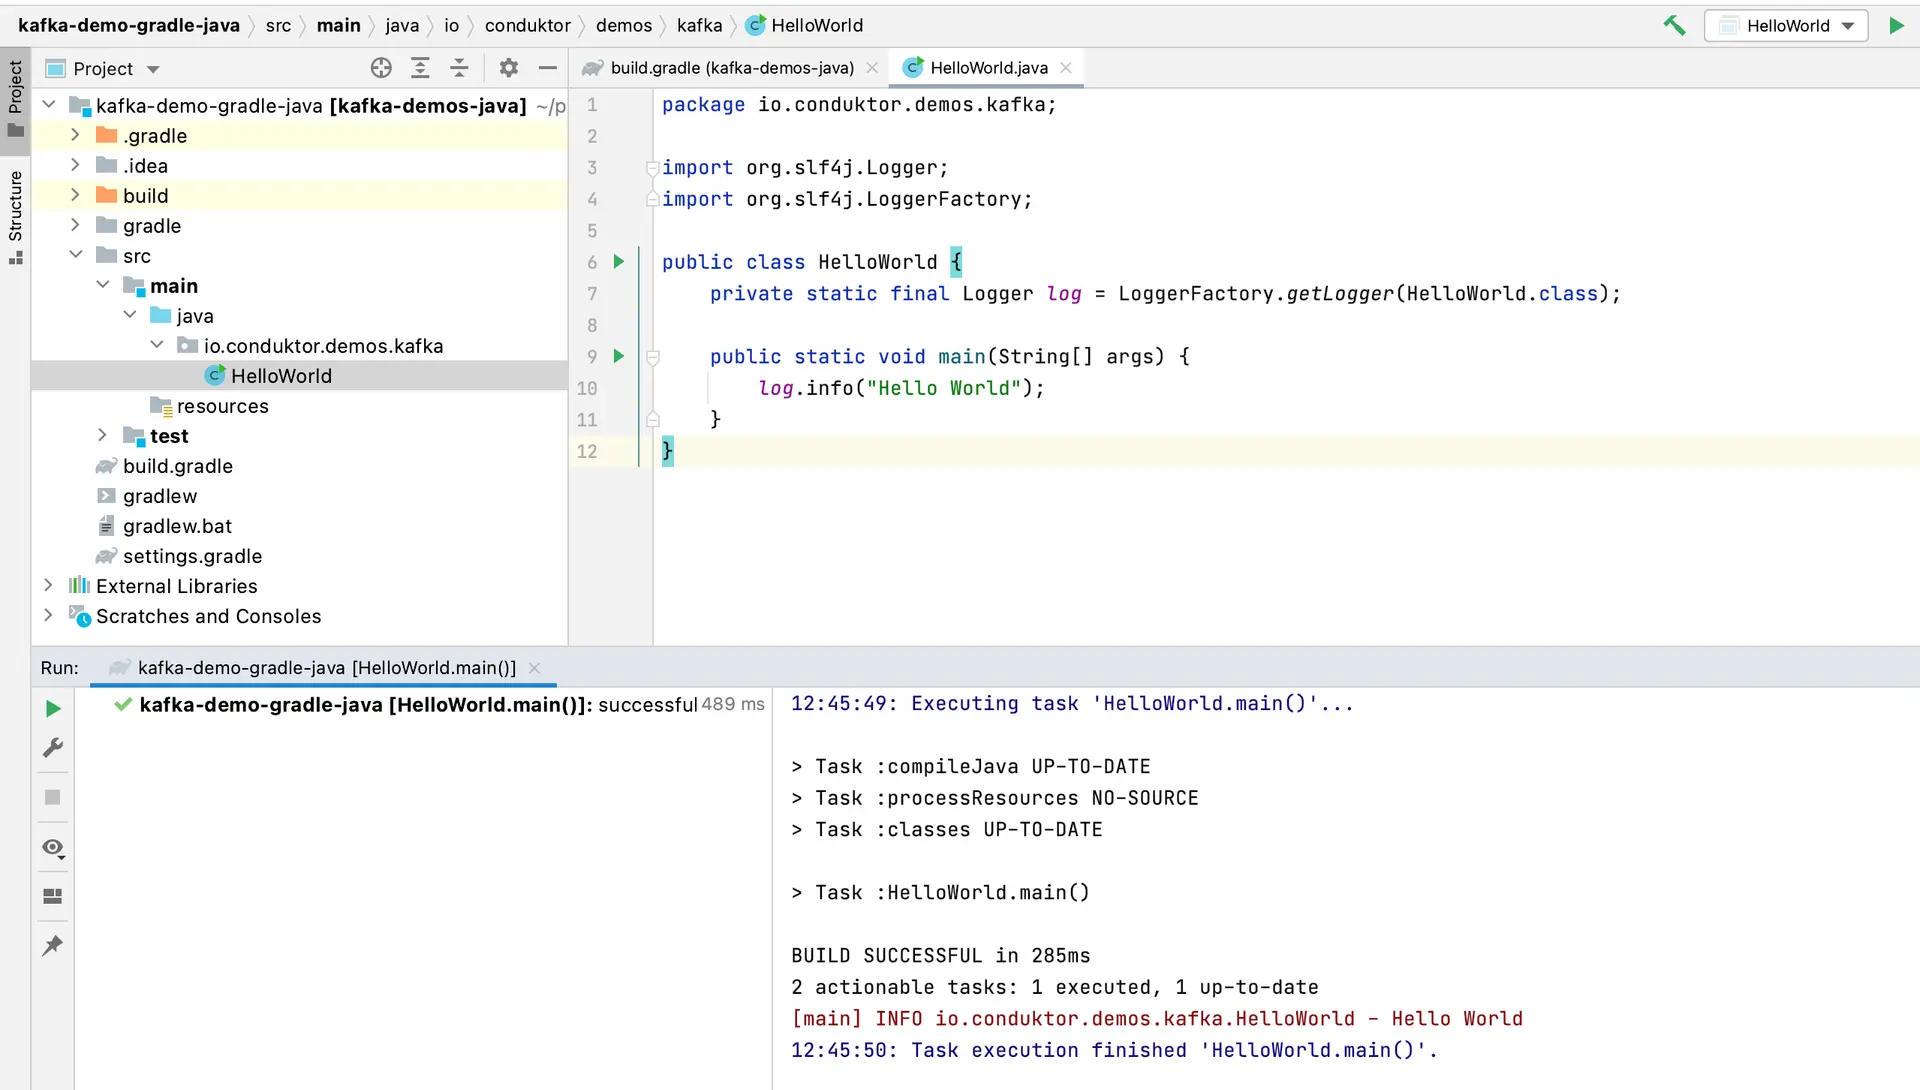
Create your first class
Create a java package say,io.conduktor.demos.kafka.HelloWorld
0. This means that your Java application has run successfully.
Expand the ‘External Libraries’ on the Project panel and verify that it displays the dependencies that we added for the project in build.gradle file
See it in practice with ConduktorOnce your project is set up, use Conduktor Console to create topics, inspect messages, and test your Kafka applications during development.
Next steps
- Create a Kafka producer to send messages
- Create a Kafka consumer to read messages
- Alternatively, set up with Maven instead