Docker Quick Start
Pre-requisite: Docker Compose
Get started in a few minutes with the latest Conduktor Console Docker image. Our recommendation is to deploy with Kubernetes.
-
Simple Setup: Get started with the Conduktor Console through its user-friendly interface - Perfect to quickly see its value.
-
Advanced Setup: For customized production environments or more complex setups.
As the Conduktor Playground, also known as Conduktor Cloud, does not exist anymore, we recommend using the embedded Kafka option to get started quickly.
Simple Setup
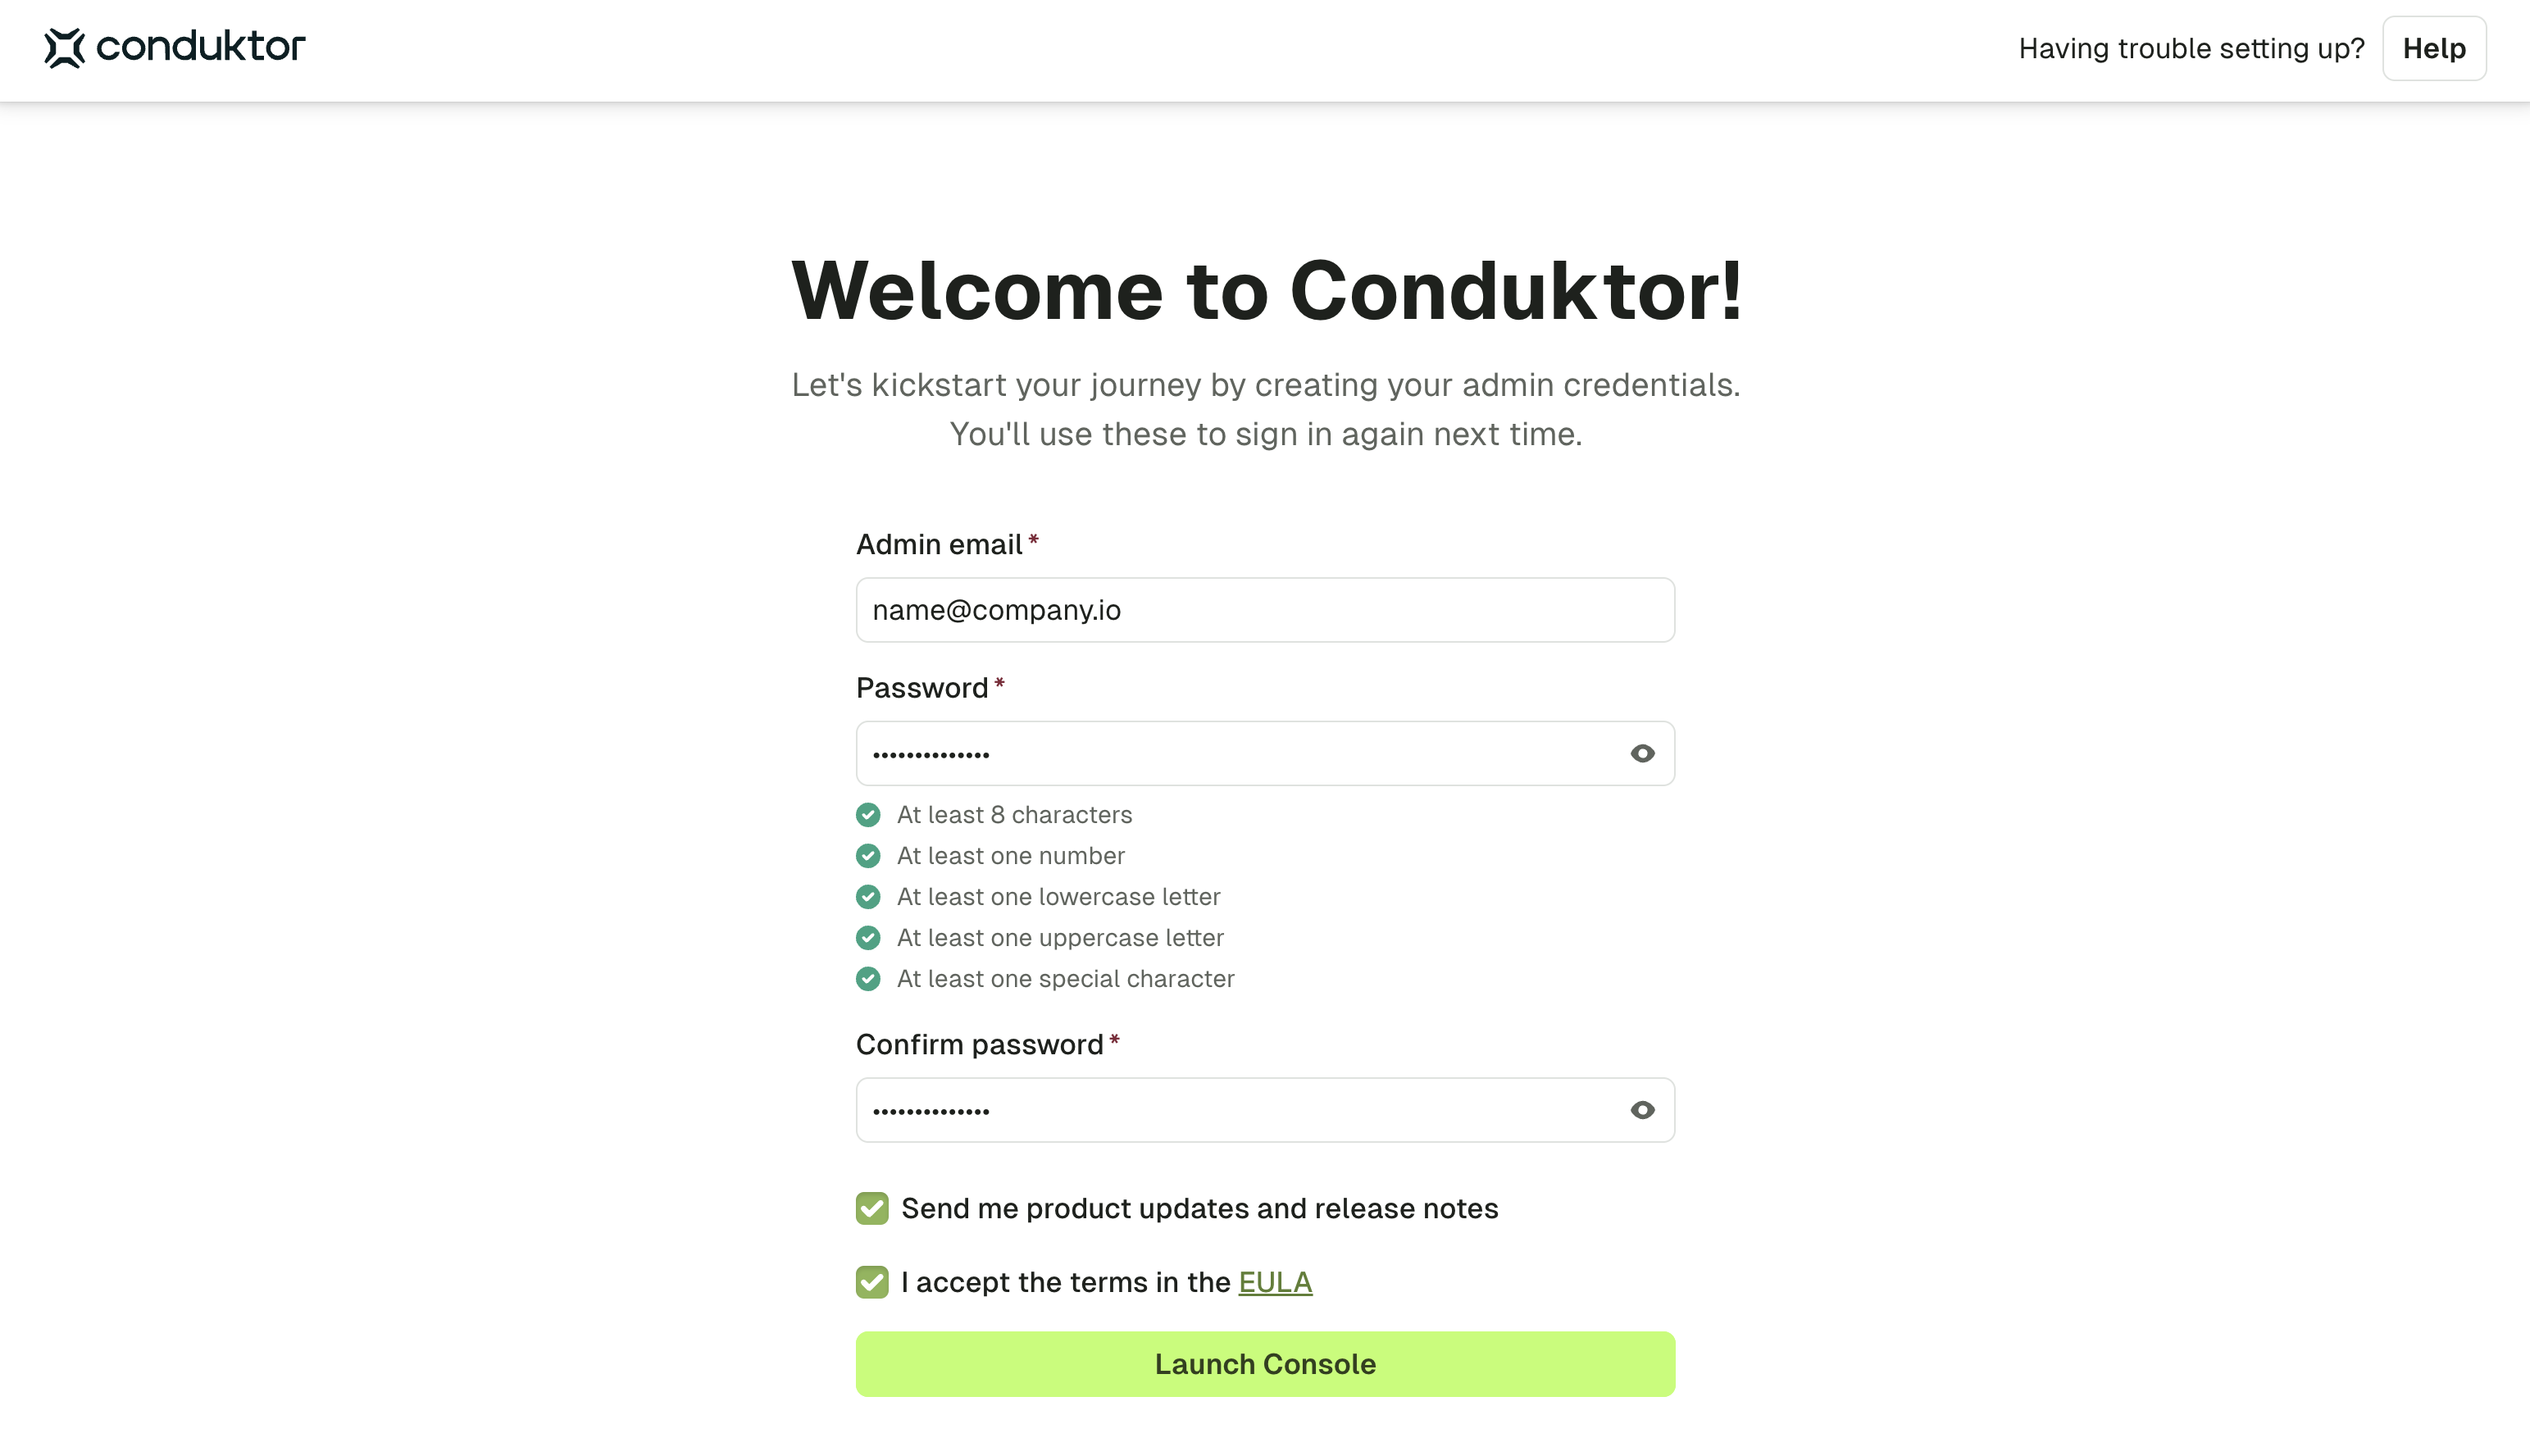
When launching Conduktor Console for the first time, an onboarding guide will walk you through configuring your environment.
Step 1: Start the Console
Let's start by running one of the commands below to launch Conduktor. Choose the option that best fits your setup: use an embedded Kafka cluster, or connect to your own Kafka cluster.
Option 1: Start with an embedded Kafka cluster
Start Conduktor Console with 2 clusters pre-configured:
- a Redpanda Kafka cluster and Schema Registry
- a Conduktor Gateway connected to the Redpanda cluster
curl -L https://releases.conduktor.io/quick-start -o docker-compose.yml && docker compose up -d --wait && echo "Conduktor started on http://localhost:8080"
Option 2: Use your existing Kafka cluster
Start Conduktor Console without any cluster pre-configured.
curl -L https://releases.conduktor.io/console -o docker-compose.yml && docker compose up -d --wait && echo "Conduktor started on http://localhost:8080"
Step 2: Complete the onboarding wizard
After a few seconds, the onboarding wizard will be available at http://localhost:8080. Here, you can set the admin credentials to use to log in.

Step 3: Connect to your existing Kafka cluster
Conduktor Console is compatible with all the Kafka providers, such as Confluent, Aiven, MSK or Redpanda. To see the full value of Conduktor, we recommend configuring it against your own Kafka data.
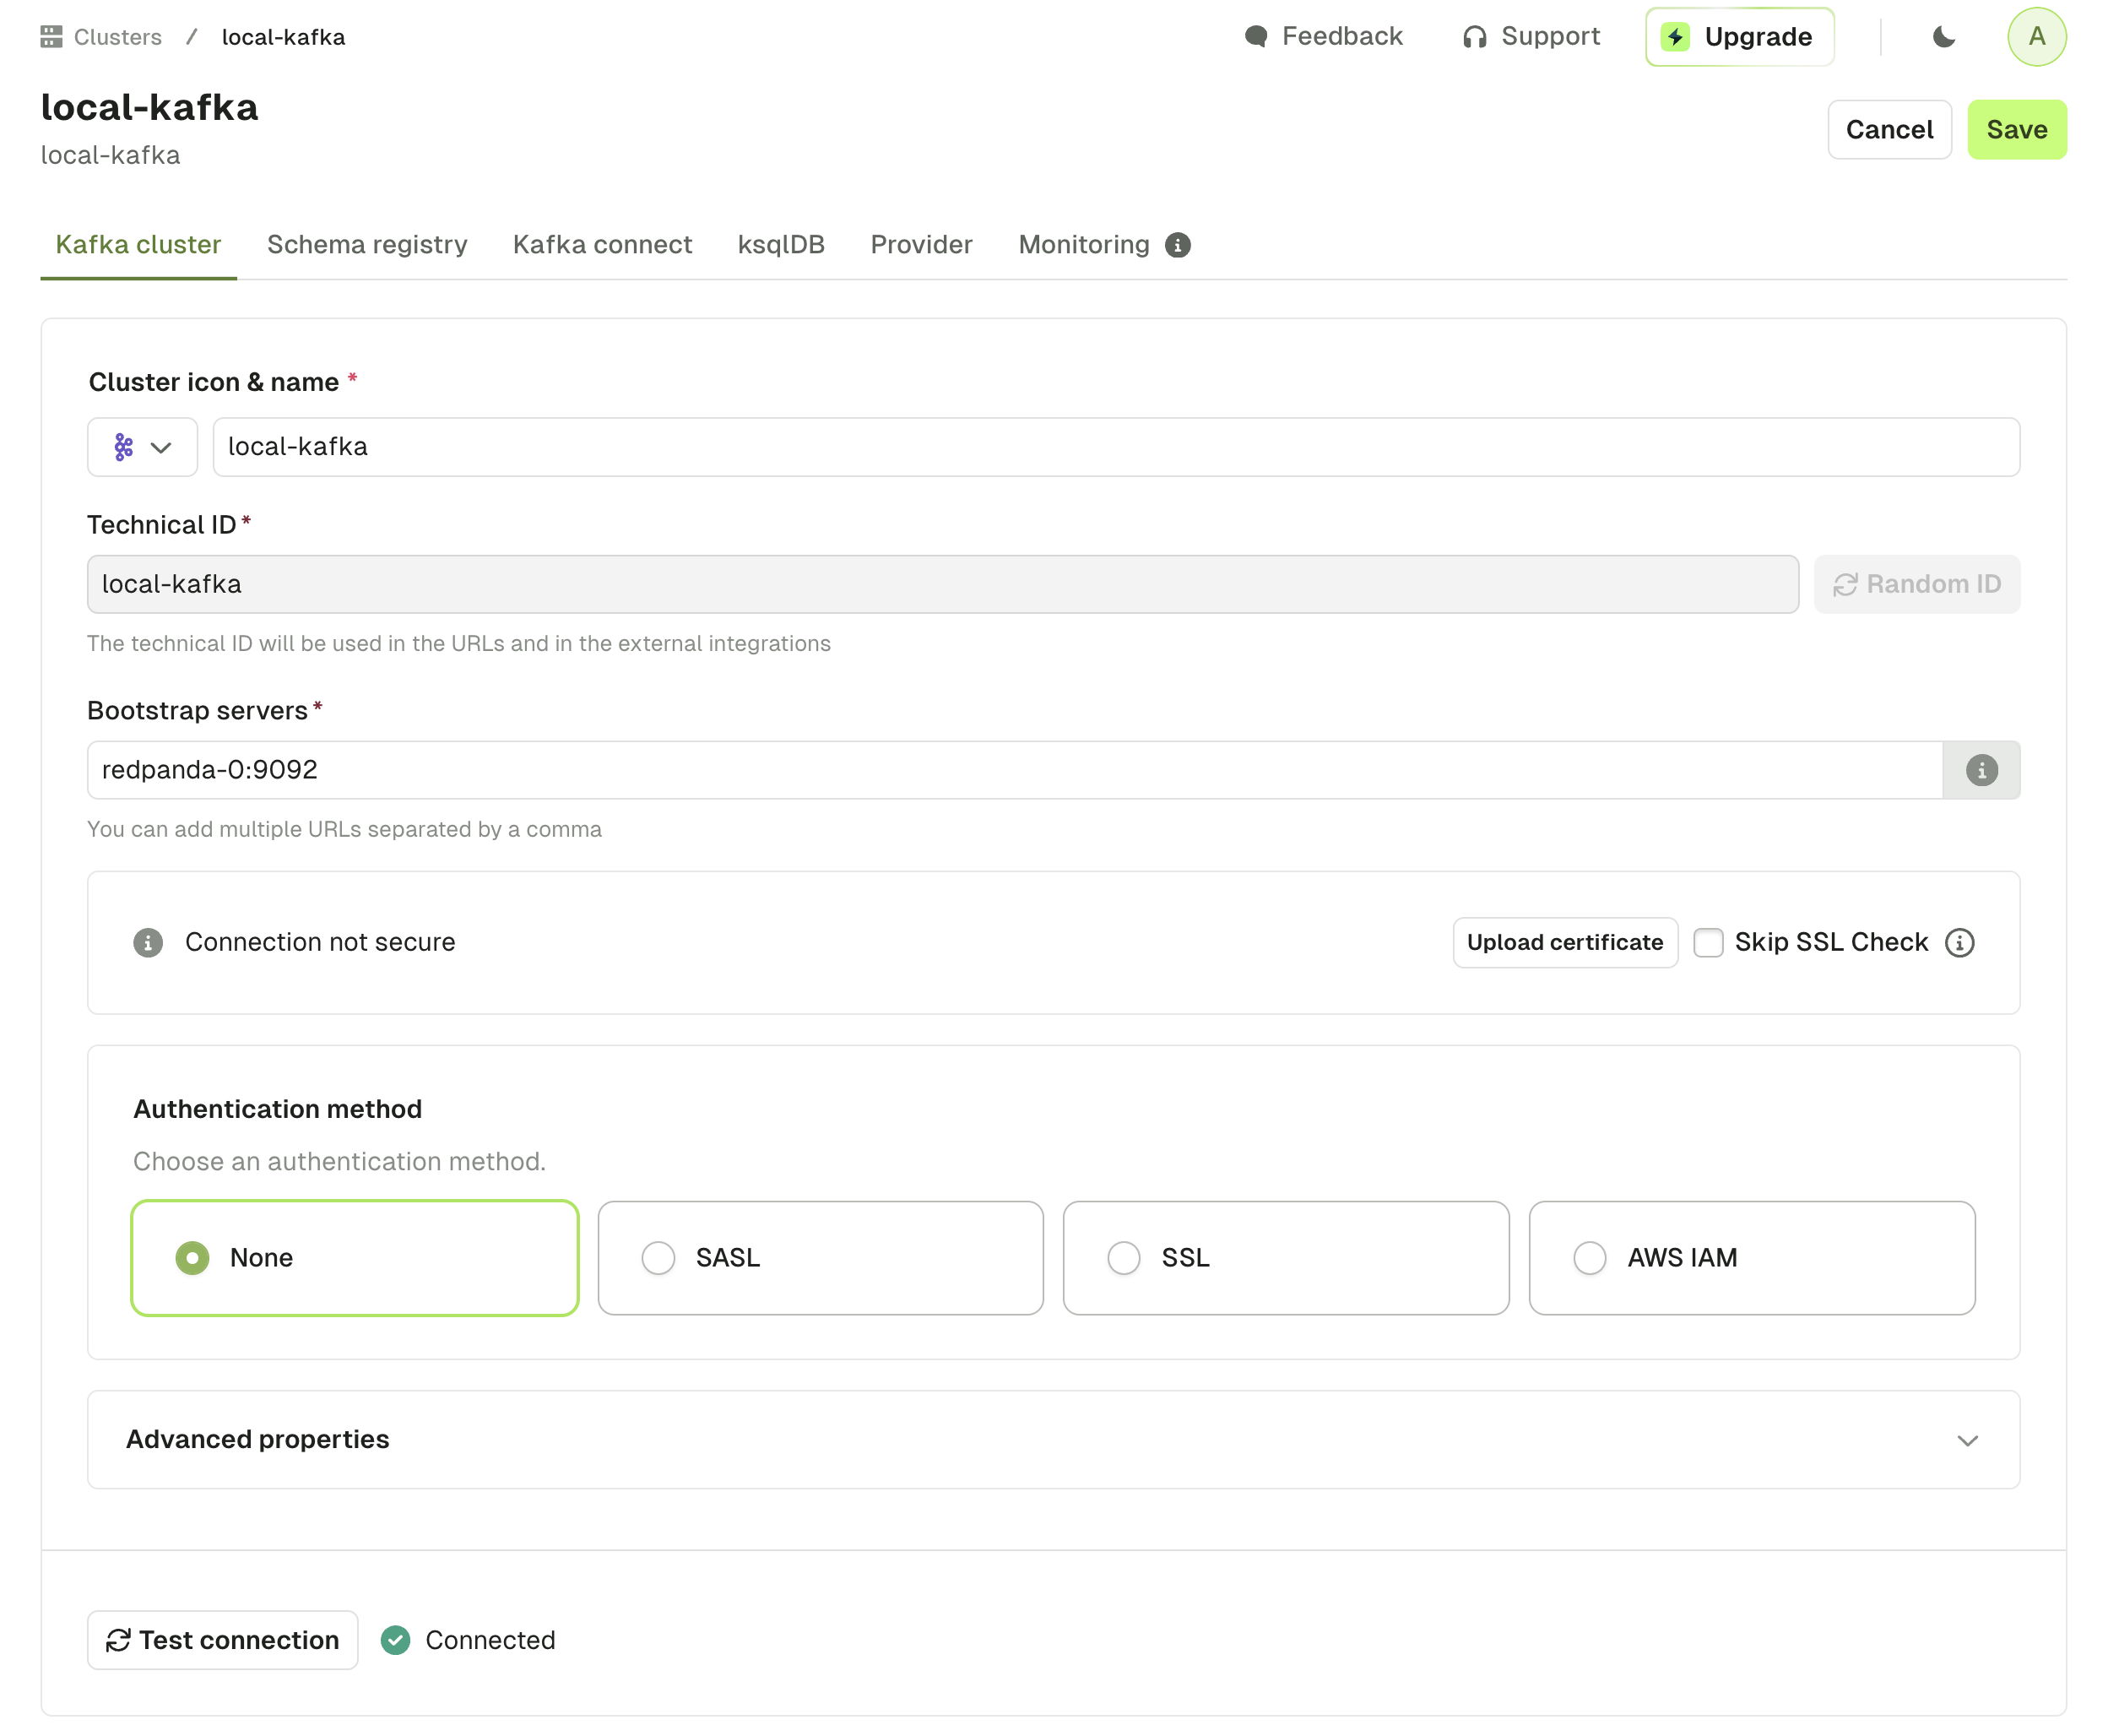
In that regard, after having completed the onboarding wizard, go to the Clusters page, and click on Add cluster.
Use our interactive guide to learn how to connect your Kafka cluster, Schema Registry and Kafka Connect!
From within the cluster configuration screen, fill the:
- Bootstrap servers
- Authentication details
- Additional properties

Configuring an SSL/TLS cluster? Use the Conduktor Certificates Store.
How to connect to Kafka running on localhost:9092?
Add the below to your Kafka server.properties file
listeners=EXTERNAL://0.0.0.0:19092,PLAINTEXT://0.0.0.0:9092
listener.security.protocol.map=PLAINTEXT:PLAINTEXT,EXTERNAL:PLAINTEXT
advertised.listeners=PLAINTEXT://127.0.0.1:9092,EXTERNAL://host.docker.internal:19092
If running Kafka in KRaft mode, add the below to your Kafka config/kraft/server.properties file
listeners=EXTERNAL://0.0.0.0:19092,PLAINTEXT://0.0.0.0:9092,CONTROLLER://:9093
listener.security.protocol.map=PLAINTEXT:PLAINTEXT,EXTERNAL:PLAINTEXT,CONTROLLER:PLAINTEXT
advertised.listeners=PLAINTEXT://127.0.0.1:9092,EXTERNAL://host.docker.internal:19092
inter.broker.listener.name=PLAINTEXT
From within the Conduktor interface, connect using the bootstrap server: host.docker.internal:19092
Step 4: Add additional users
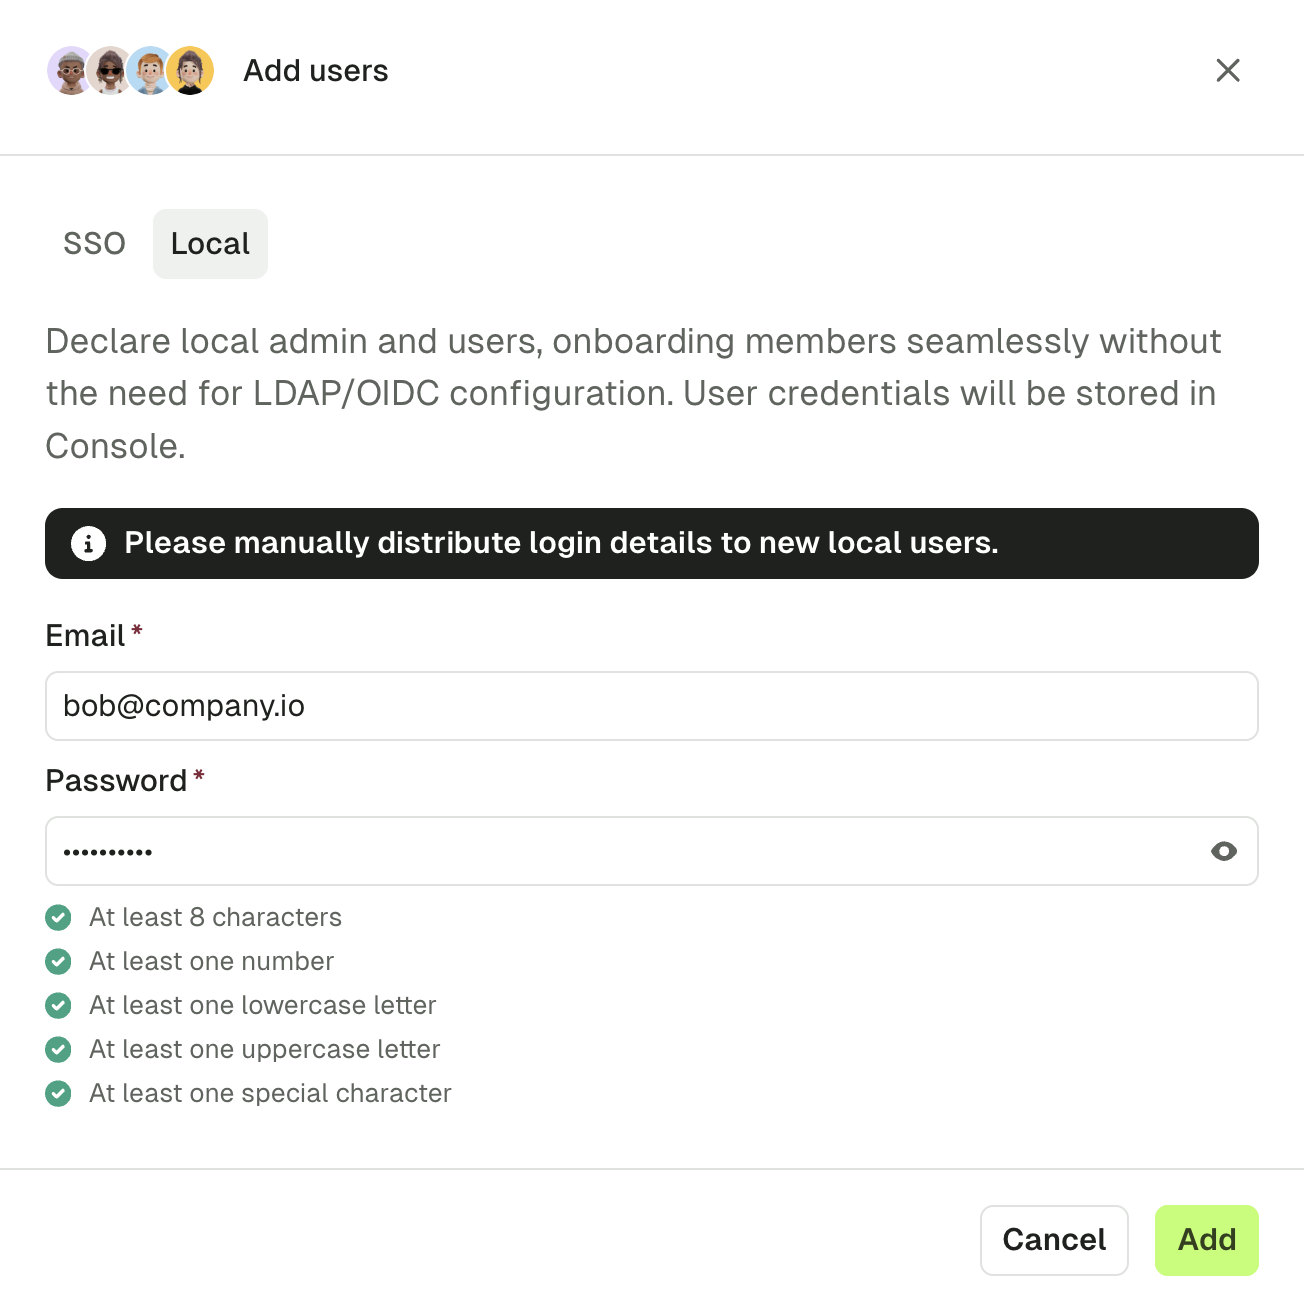
If you have deployed Conduktor on a central server, you can add new users to collaborate with you inside the Console.
For that, go to the Users screen and select Create Members to set the credentials of a new local user.

You can configure your SSO using the free Console!
Advanced Setup
For production deployments, please make sure you respect the production requirements.
Step 1: Configure the Console
To configure the Conduktor Console during deployment, you have two options:
- Option 1: Using a configuration file - You define the configuration in a file and bind it to the Console container in the Docker Compose file.
- Easier to manage and update
- Option 2: Using environment variables - You define the configuration directly in the Docker Compose file.
- Gathers everything in one place
If both methods are used, environment variables will take precedence over the configuration file.
Here’s what you can configure:
- External database (required)
- User authentication (Local or SSO/LDAP)
- Kafka clusters configurations
- Conduktor enterprise license key
Some objects, such as groups or Self-service resources, can't be initiated before the Console has started. To automate their creation, you can either use our API, CLI or Terraform provider.
Option 1: Using a configuration file
Create a configuration file
The below example shows how to configure Conduktor with the following configuration:
- The external database configuration
- The local administrator credentials
- The connection to the Monitoring container called
conduktor-console-cortex
If you want, you can add more snippets, like SSO or license key. You can get the list of all the properties supported here.
database:         # External database configuration
  hosts:
   - host: 'postgresql'
     port: 5432
  name: 'conduktor-console'
  username: 'conduktor'
  password: 'change_me'
  connection_timeout: 30 # in seconds

admin:            # Local admin credentials
  email: "<name@your_company.io>"
  password: "adminP4ss!"

monitoring:       # Connection to the Cortex Monitoring container
  cortex-url: http://conduktor-monitoring:9009/
  alert-manager-url: http://conduktor-monitoring:9010/
  callback-url: http://conduktor-console:8080/monitoring/api/
  notifications-callback-url: http://localhost:8080

# license: ""     # Enterprise license key
Bind the file to the Console container
The below docker-compose indicates how to bind your console-config.yaml file.
Note that the environment variable CDK_IN_CONF_FILE is used to indicate that a configuration file is being used, and the location to find it. The file is also mounted to be used from within the container.
services:
  postgresql:
    image: postgres:14
    hostname: postgresql
    environment:
      POSTGRES_DB: "conduktor-console"
      POSTGRES_USER: "conduktor"
      POSTGRES_PASSWORD: "change_me"

  conduktor-console:
    image: conduktor/conduktor-console:1.30.0
    depends_on:
      - postgresql
    ports:
      - "8080:8080"
    volumes:
      - type: bind
        source: "./console-config.yaml"
        target: /opt/conduktor/console-config.yaml
        read_only: true
    environment:
      CDK_IN_CONF_FILE: /opt/conduktor/console-config.yaml

  conduktor-monitoring:
    image: conduktor/conduktor-console-cortex:1.30.0
    environment:
      CDK_CONSOLE-URL: "http://conduktor-console:8080" # Connection to the Console container
Option 2: Using environment variables
The same configuration can be achieved using environment variables.
You can use our YAML to ENV converter to easily convert the configuration file into environment variables.
services:
  postgresql:
    image: postgres:14
    hostname: postgresql
    environment:
      POSTGRES_DB: "conduktor-console"
      POSTGRES_USER: "conduktor"
      POSTGRES_PASSWORD: "change_me"

  conduktor-console:
    image: conduktor/conduktor-console:1.30.0
    depends_on:
      - postgresql
    ports:
      - "8080:8080"
    environment:
      # Enterprise license key
      # CDK_LICENSE: ""
      # External database configuration
      CDK_DATABASE_URL: "postgresql://conduktor:change_me@postgresql:5432/conduktor-console"
      # Local admin credentials
      CDK_ADMIN_EMAIL: "<name@your_company.io>"
      CDK_ADMIN_PASSWORD: "adminP4ss!"
      # Connection to the Cortex Monitoring container
      CDK_MONITORING_CORTEX-URL: http://conduktor-monitoring:9009/
      CDK_MONITORING_ALERT-MANAGER-URL: http://conduktor-monitoring:9010/
      CDK_MONITORING_CALLBACK-URL: http://conduktor-console:8080/monitoring/api/
      CDK_MONITORING_NOTIFICATIONS-CALLBACK-URL: http://localhost:8080

  conduktor-monitoring:
    image: conduktor/conduktor-console-cortex:1.30.0
    environment:
      # Connection to the Console container
      CDK_CONSOLE-URL: "http://conduktor-console:8080"

volumes:
  pg_data: {}
  conduktor_data: {}
Step 2: Deploy the Console
Last step to start the containers is to run the following command. It will start:
- An external PostgreSQL database
- The Conduktor Console and Cortex containers
docker compose up
After a few minutes, Conduktor will be available at http://localhost:8080
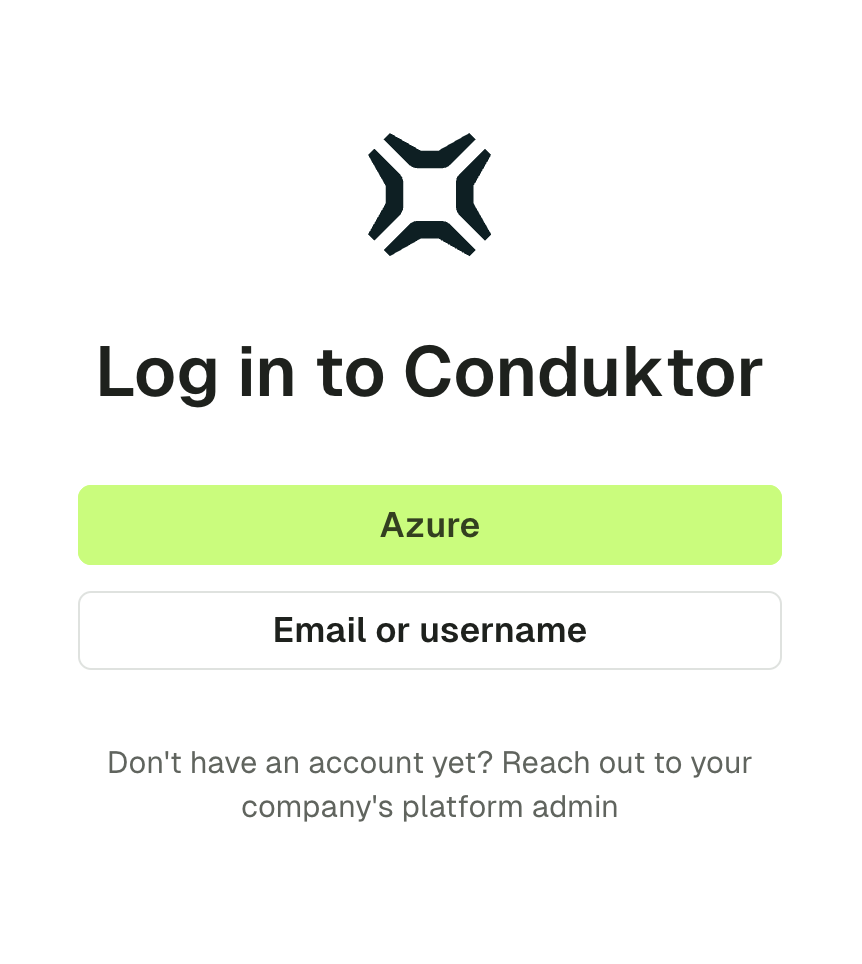
You can use the admin email and password to log in.
If using SSO, you will see an option to log in via the relevant identity provider.

Step 3: Connect to your existing Kafka cluster
See connecting to your existing Kafka cluster