Configure Auth0 as SSO
Auth0 Configuration
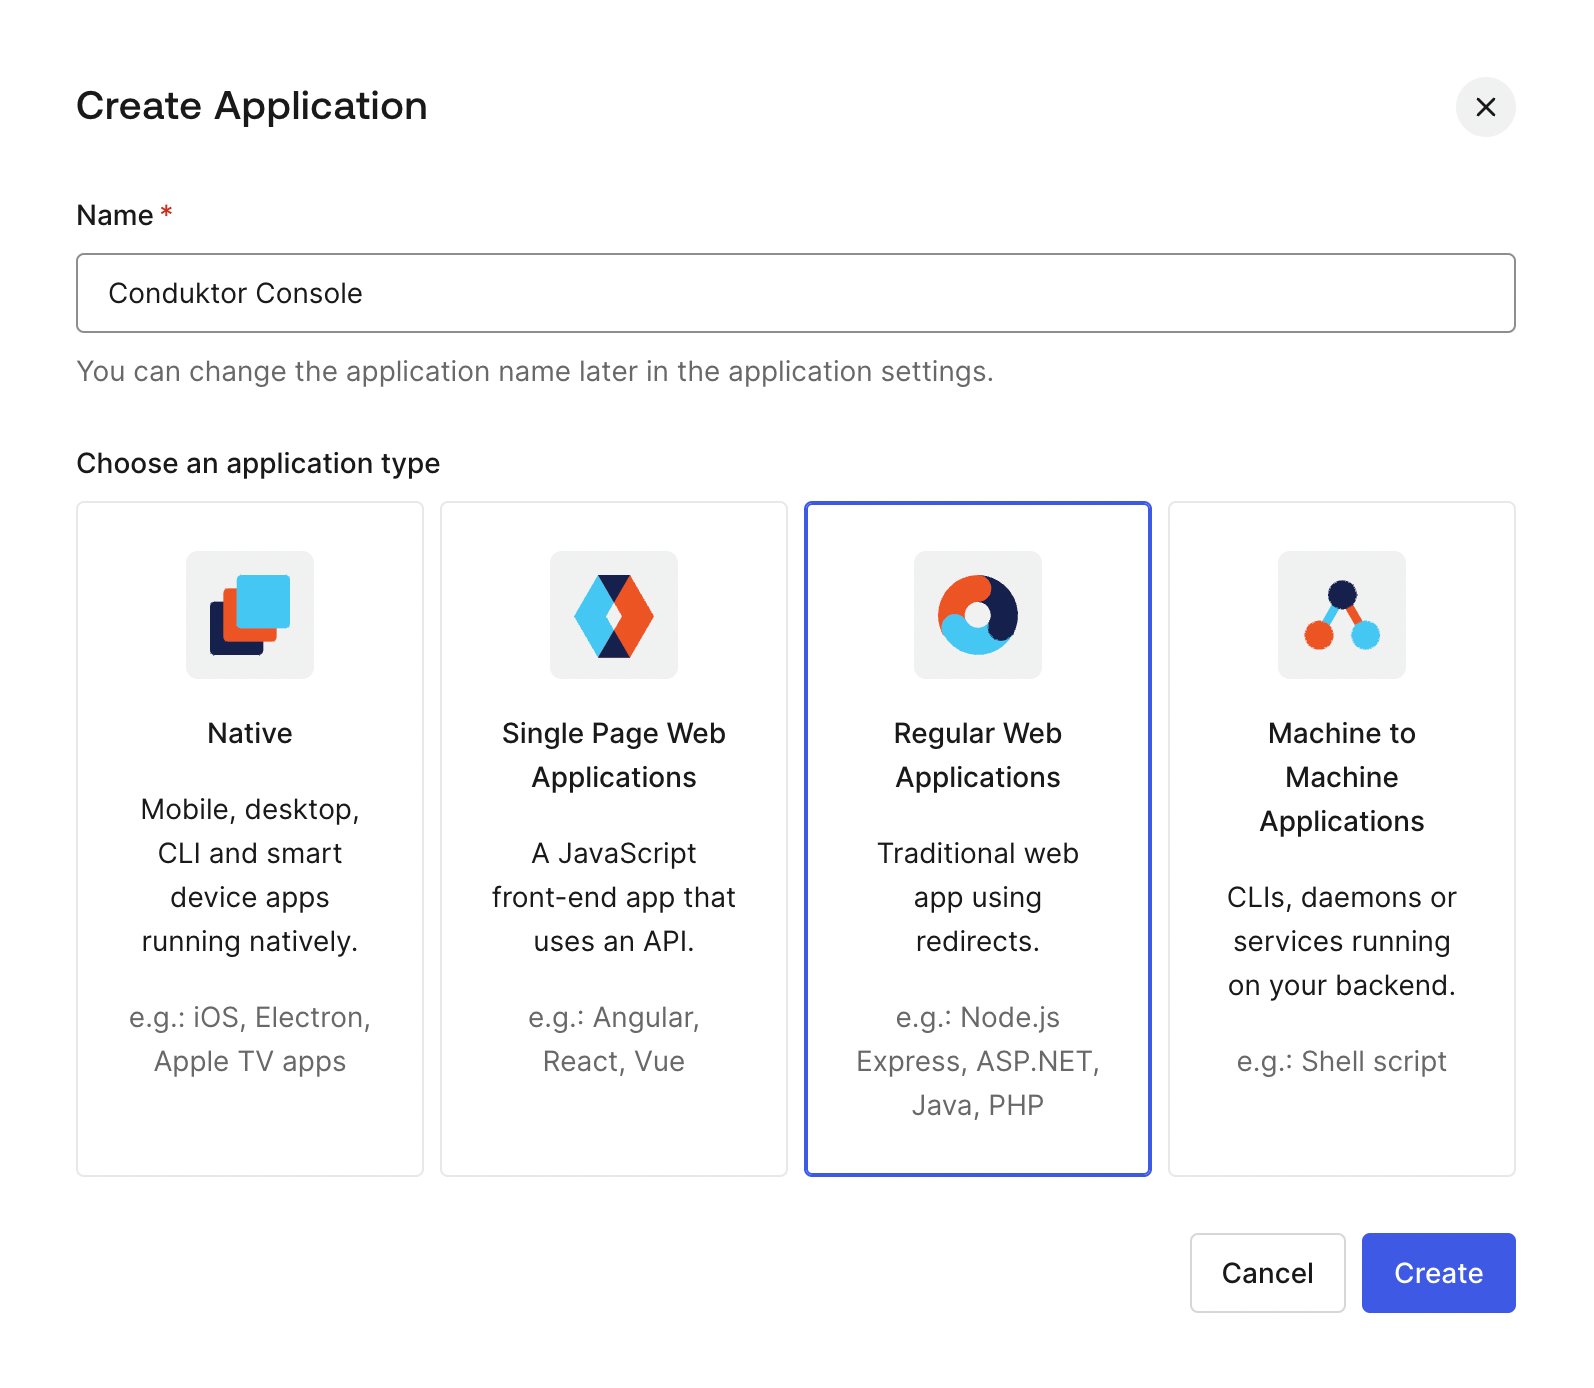
On Auth0 side, you'll have to create a new application:
- Step 1: Create a Regular Web Application
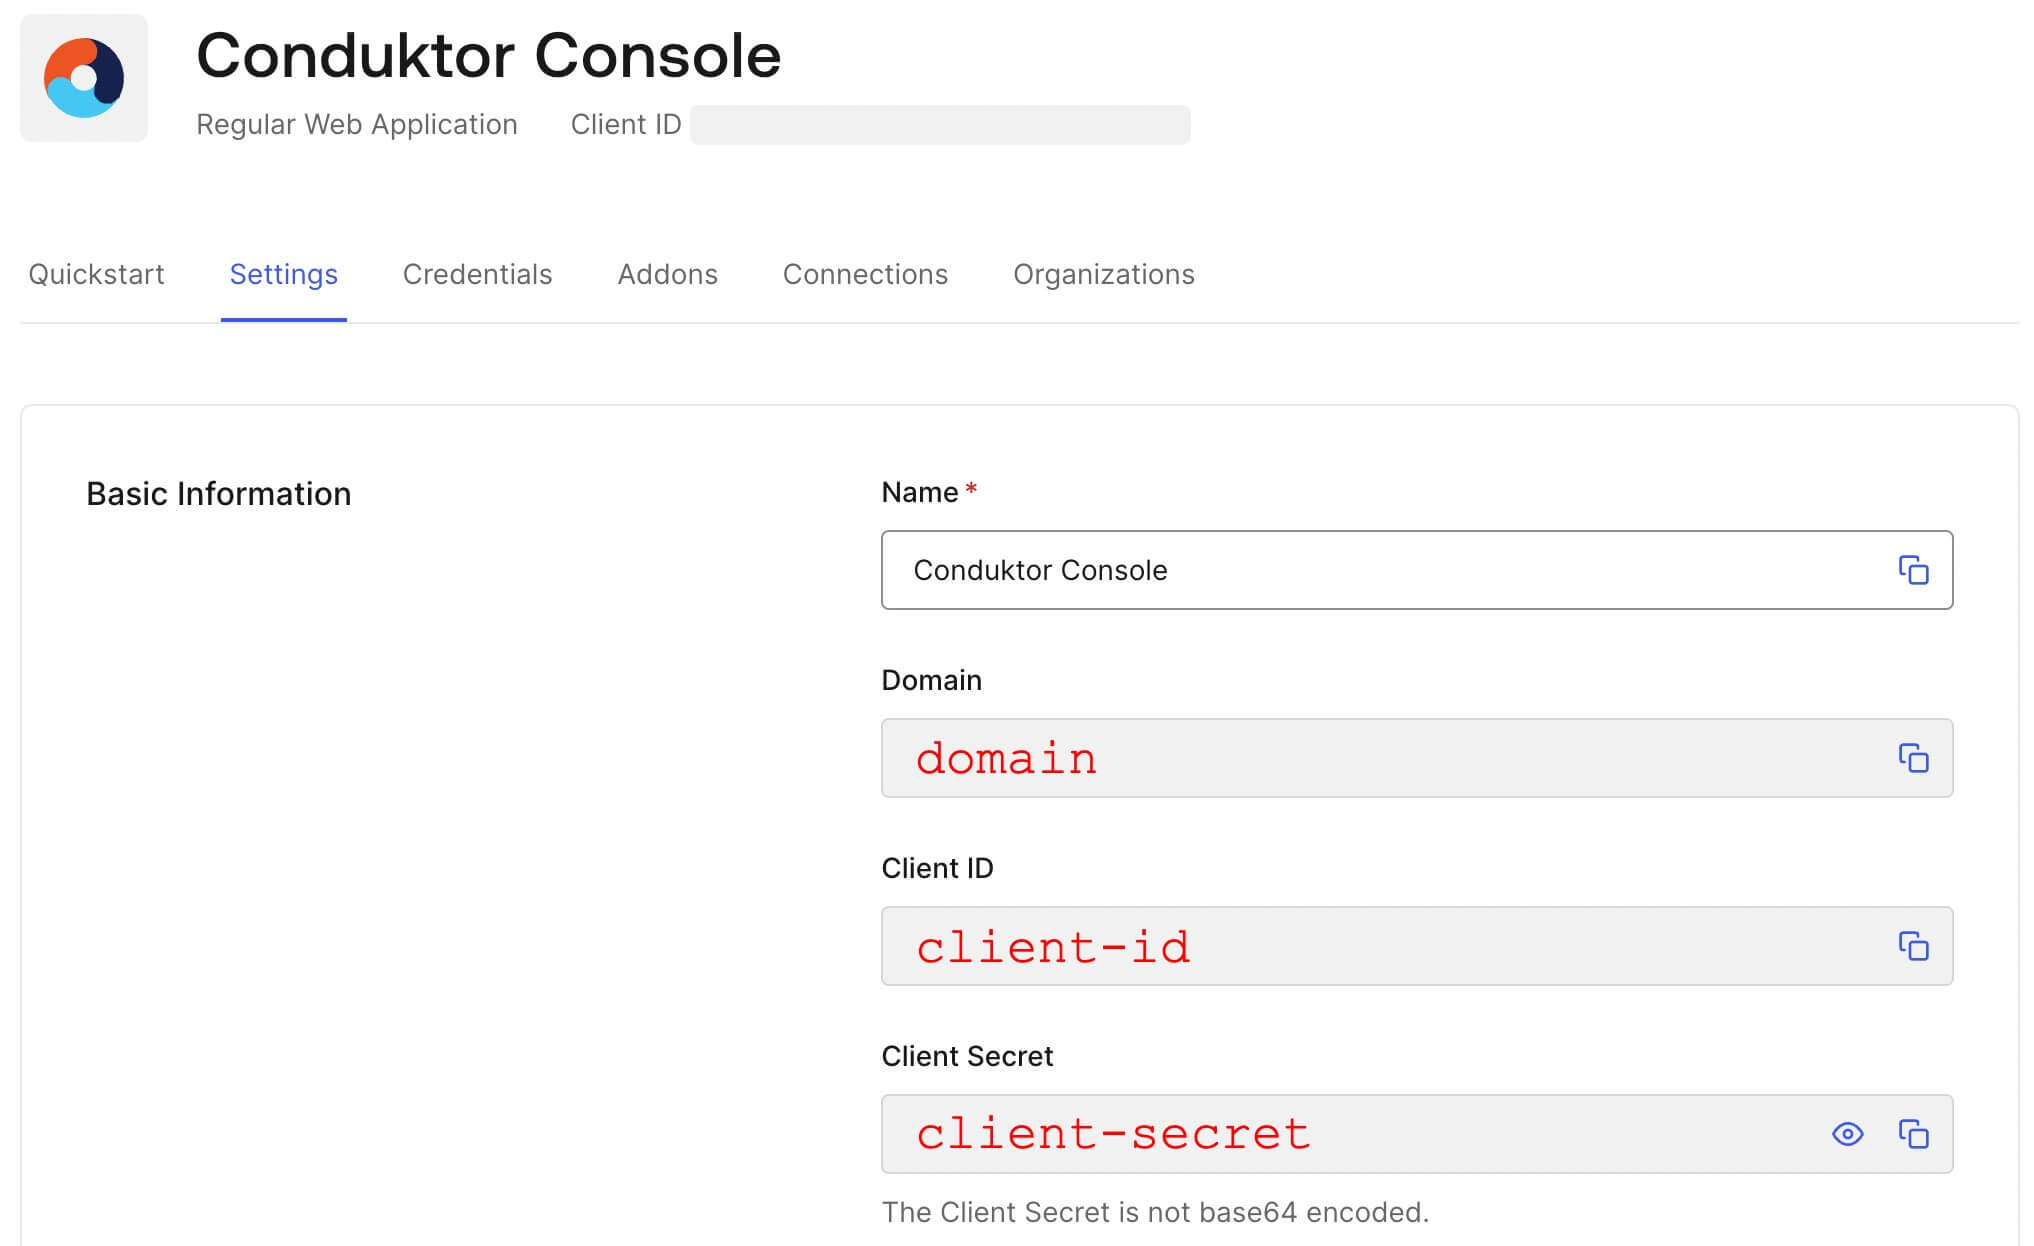
- Step 2: Get the
client ID,client secretanddomain
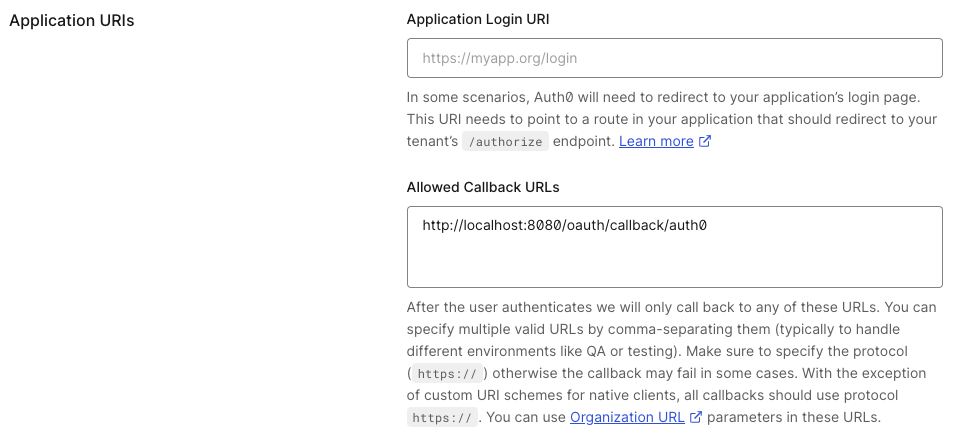
- Step 3: Configure the callback URI
The redirect URI can be like: http(s)://<Console host>(:<Console port>)/oauth/callback/<OAuth2 config name>.
For example, if you deployed Console locally using the name auth0 in your configuration file, you can use http://localhost:8080/oauth/callback/auth0, like in the screenshot below.
For more details on Console redirect URI for OAuth2, you can check the documentation.
You can find the .well-known at: https://<domain>/.well-known/openid-configuration.
Do not forget to select how you want to connect via the Connections tab of your Auth0 application.
Console Configuration
On Console side, you can add the snippet below to your configuration file. You have to replace the client ID, client secret, and domain, with what you got during step 2.
- YAML File
- Environment Variables
sso:
  oauth2:
    - name: "auth0"
      client-id: "<client ID>"
      client-secret: "<client secret>"
      openid:
        issuer: "https://<domain>"
CDK_SSO_OAUTH2_0_NAME="auth0"
CDK_SSO_OAUTH2_0_DEFAULT=true
CDK_SSO_OAUTH2_0_CLIENT-ID="<client ID>"
CDK_SSO_OAUTH2_0_CLIENT-SECRET="<client secret>"
CDK_SSO_OAUTH2_0_OPENID_ISSUER="https://<domain>"